Beginner Photography Gear – What I Actually Use
If you just bought your first camera, these are the small essentials that make photography easier and save you frustration later.
Everything listed here is gear I personally use and recommend and shows my progression as I learn more.
This page contains affiliate links. I may earn a commission at no extra cost to you.
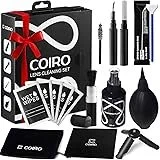
A basic cleaning kit is essential for keeping dust off your lens and sensor.
I use this one because it’s inexpensive, reliable, and compact enough to fit in any bag.
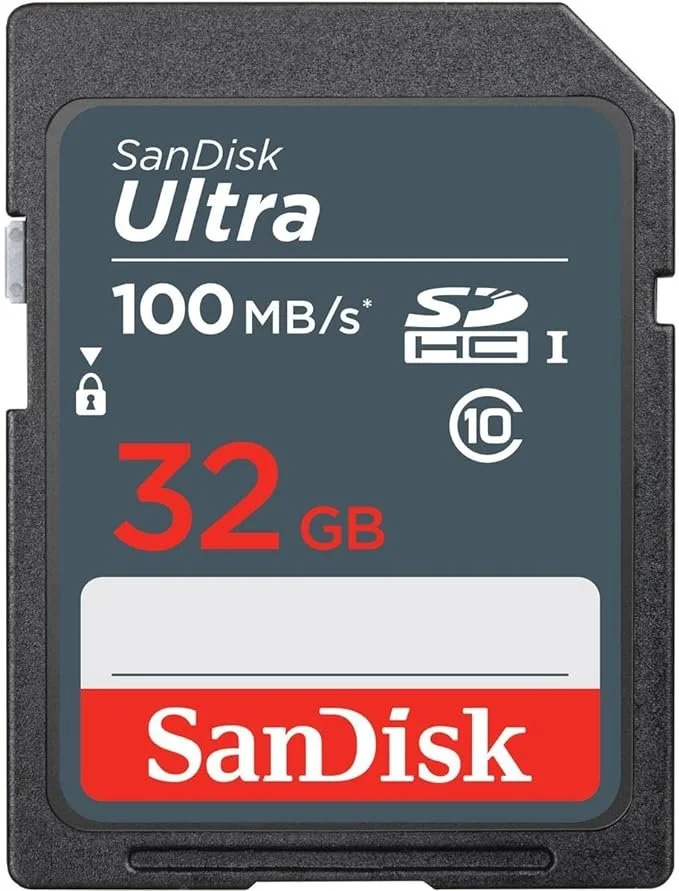
SD cards fail. They get lost. And they always seem to fill up at the worst possible time.
I always carry extras. They’re inexpensive insurance for your photos — especially on trips or important shoots.
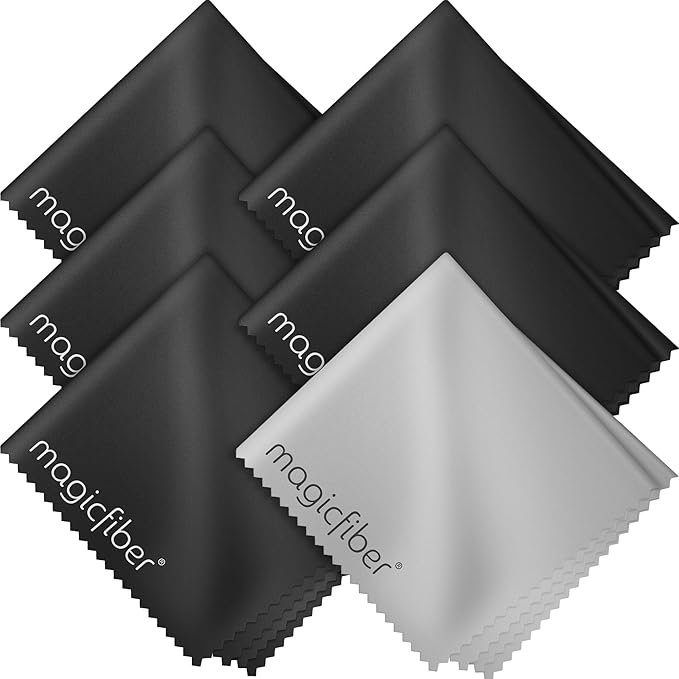
Microfiber cloths are a must-have. They get dirty quickly and tend to disappear.
I always carry several so I have a clean one ready when I need it.
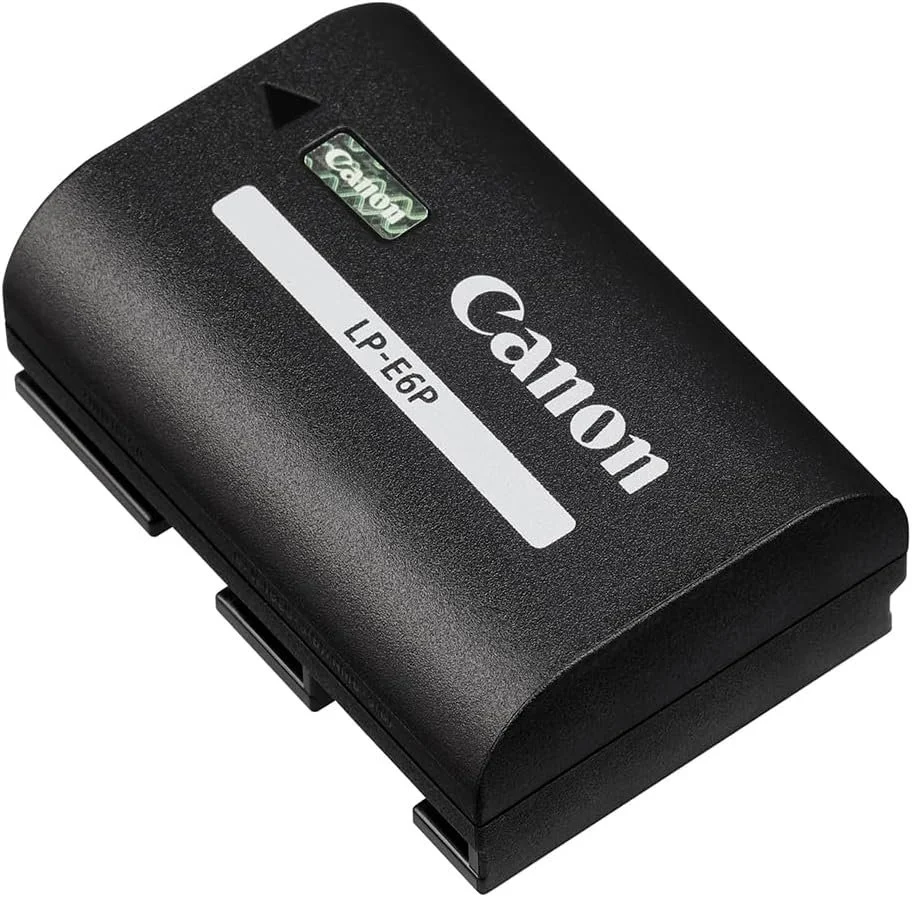
An extra battery is one of the smartest purchases you can make.
Cameras always seem to die at the worst moment. I keep at least one spare fully charged and ready.
Make sure you select the correct battery for your camera model.
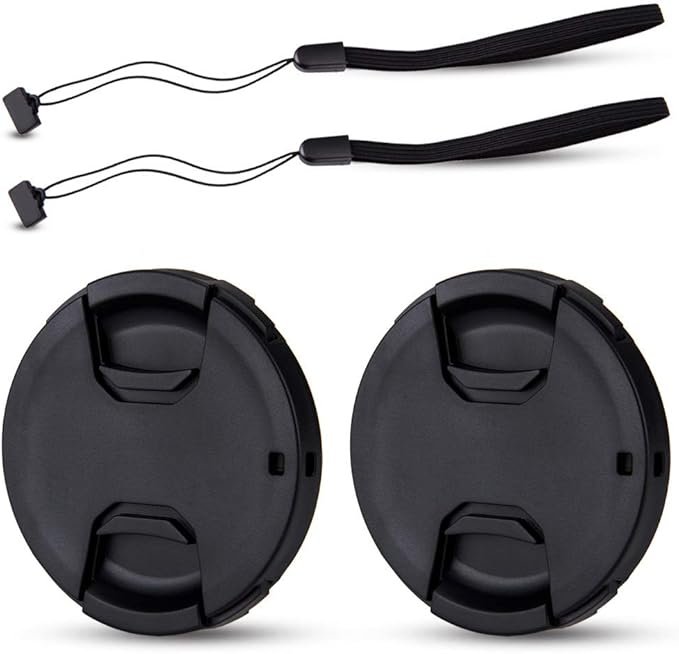
Lens caps have a way of disappearing.
I recommend keeping at least one spare on hand. Just make sure you select the correct size for your lens.
Editing is where your images truly come to life.
I’ve relied on Adobe’s Photography Plan for years. It includes both Lightroom for organization and workflow, and Photoshop for advanced editing — all at one of the most affordable subscription levels.
Protect Your Investment
You just invested in your camera — now it’s time to protect it.
These are the protective accessories I use to keep my gear safe and reliable.
And one quick tip: avoid ultra-cheap tripods. A weak tripod can fail when you least expect it.
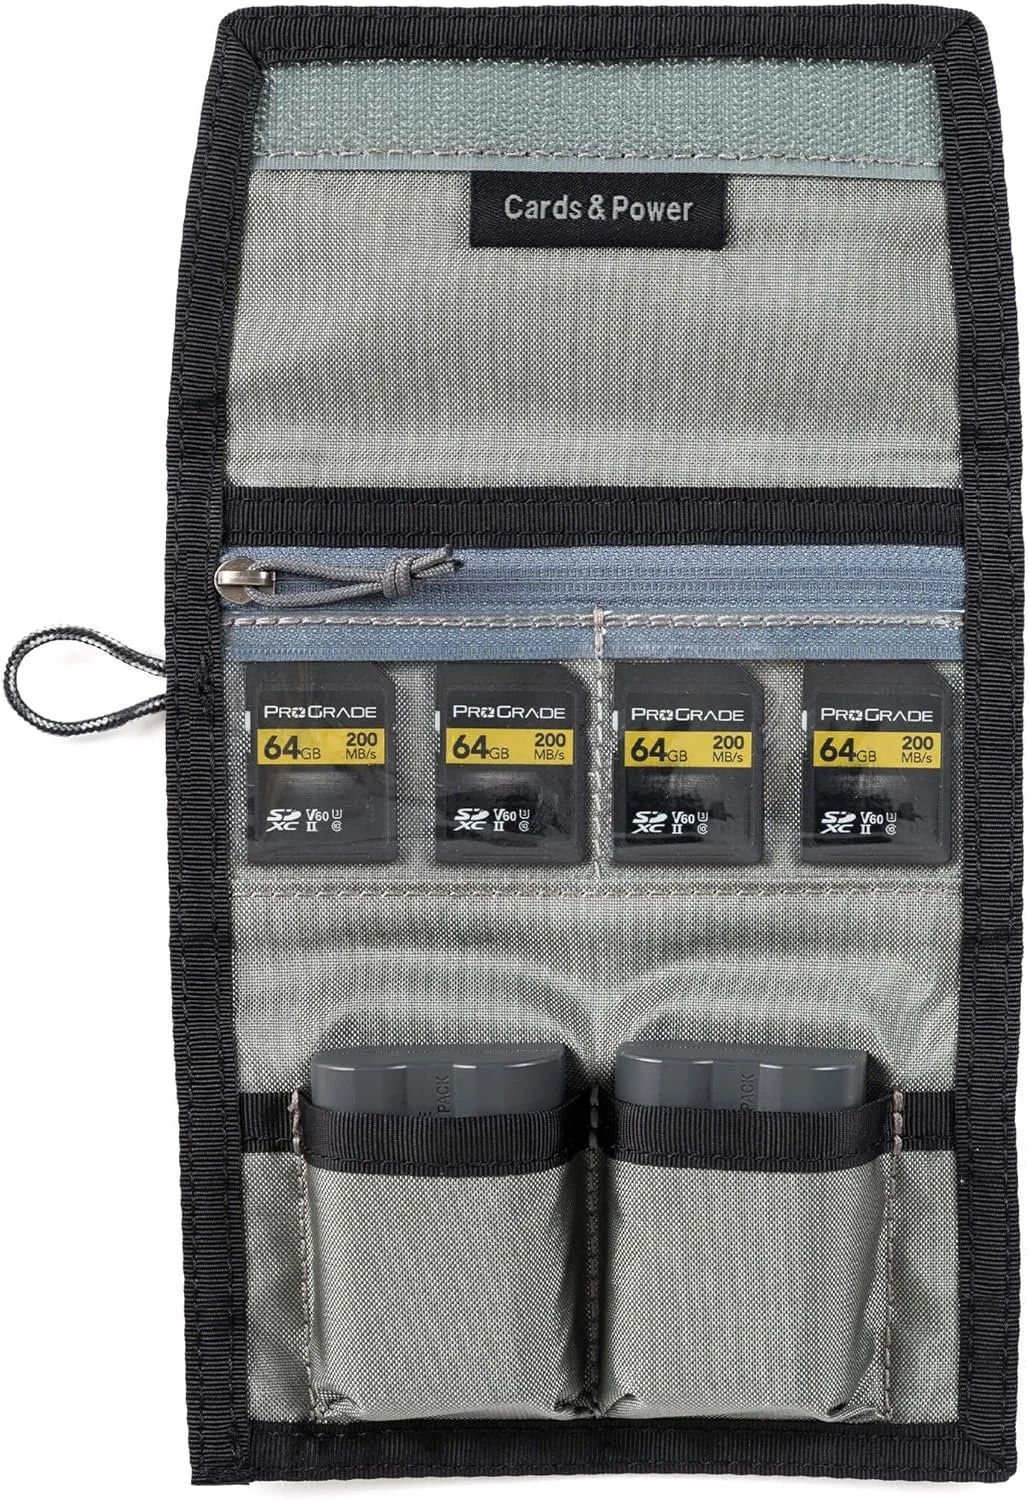
Keep your batteris from getting lost in your backpack with this handy case
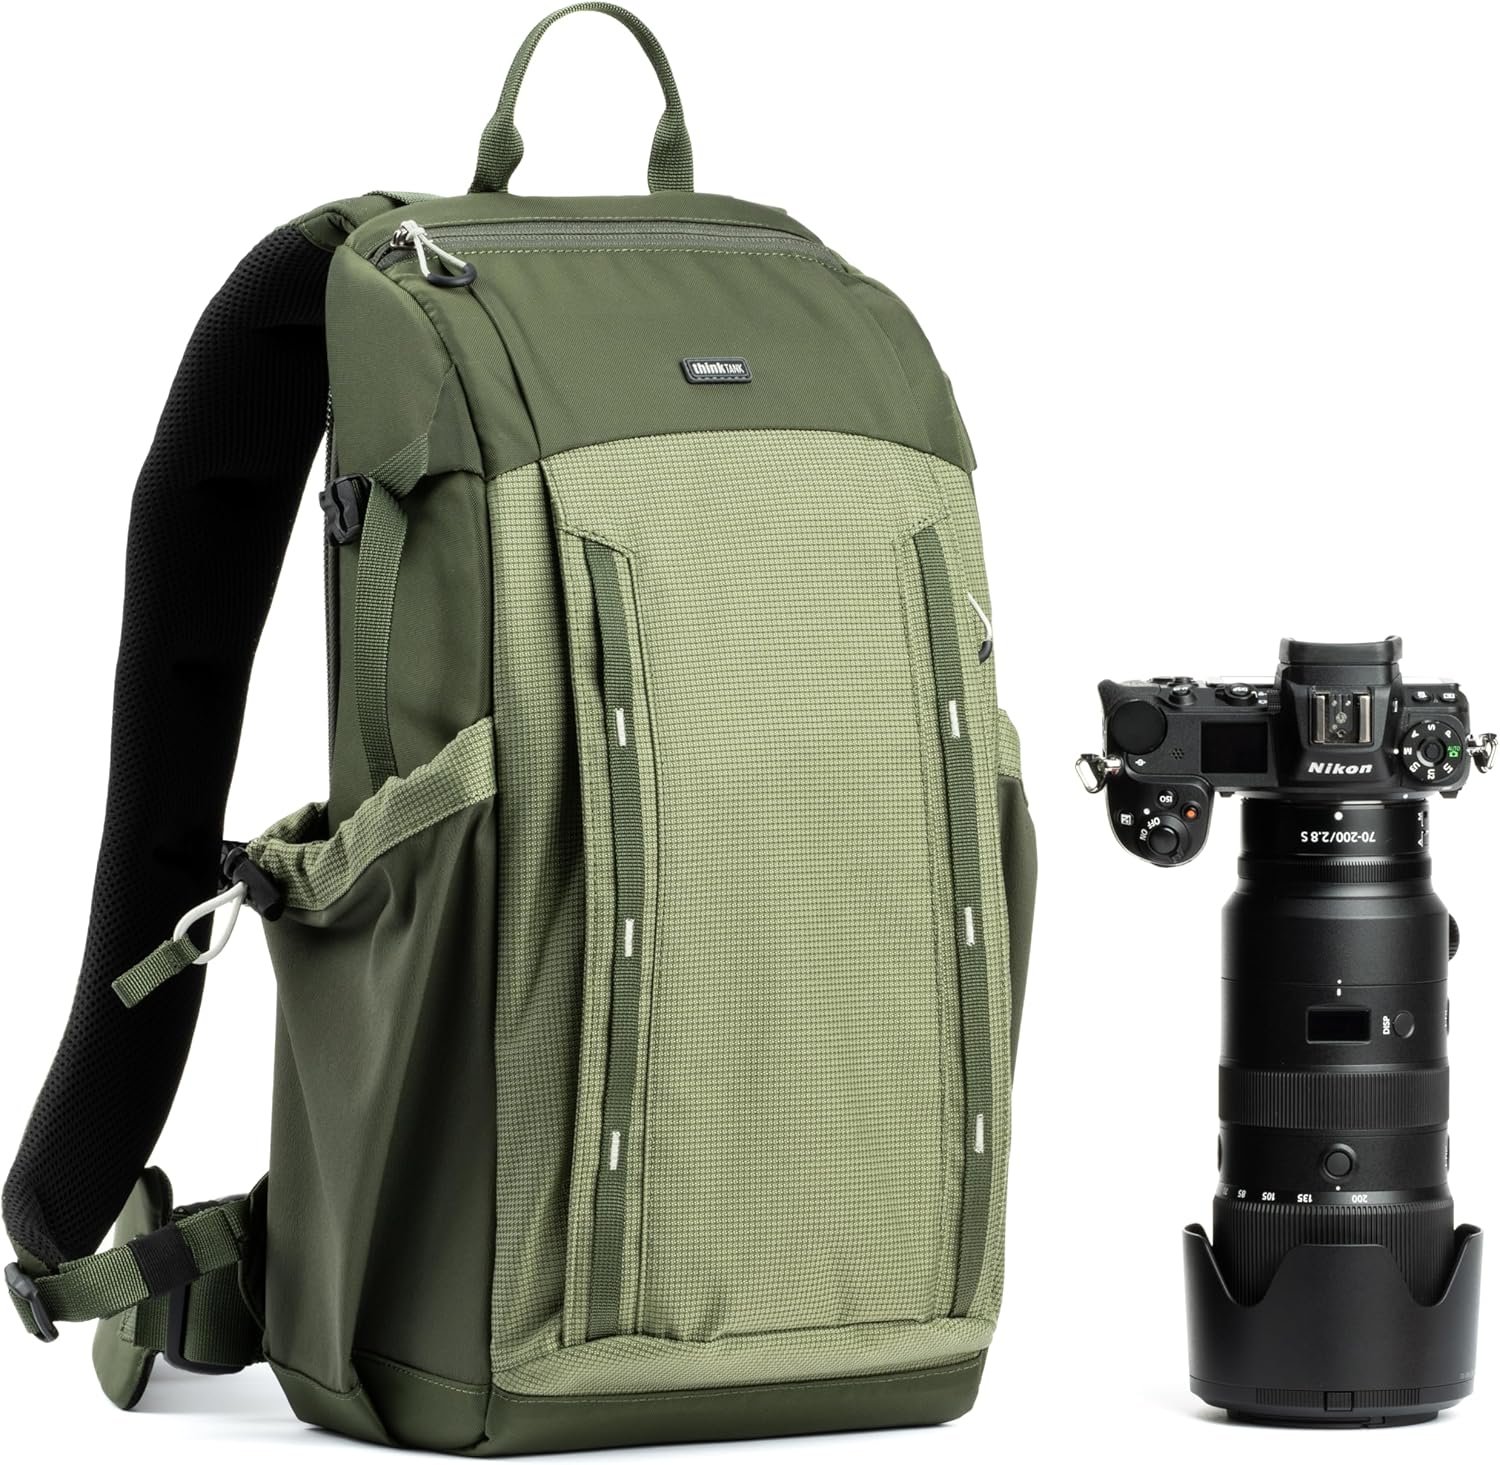
This was my first “serious” camera bag, and I still use it for quick local shoots when I’m traveling light. It’s compact, durable, and perfect for carrying just the essentials without overpacking.
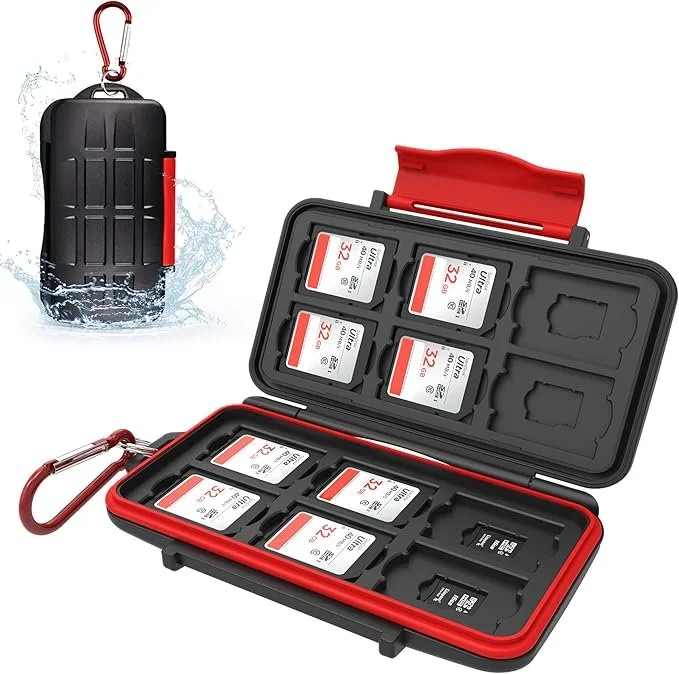
This water resistant case keeps your cards organized and dry
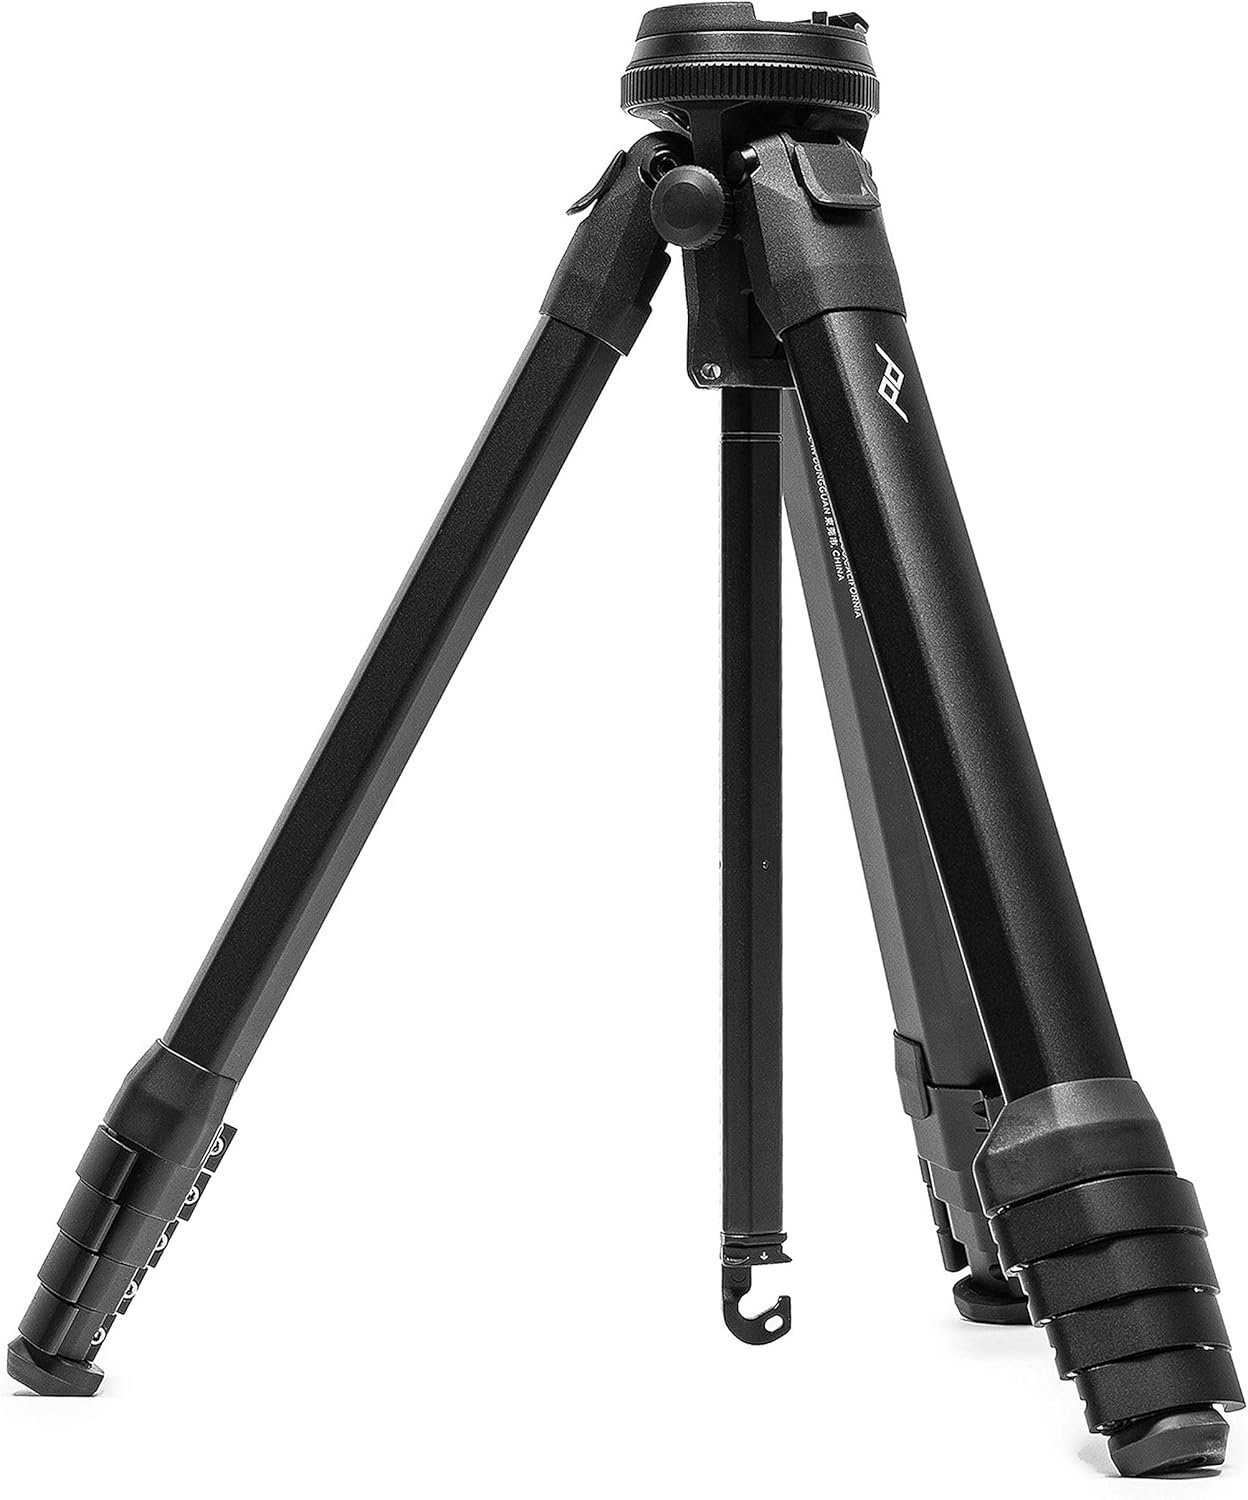
DO NOT CHEAP ON your first tripod. Cheap tripods are not sturdy and fail fast (I had a similar one that lasted several years)

I’m a member of Professional Photographers of America (PPA)
PPA provides ongoing education, business tools, and built-in equipment insurance. The insurance alone makes it worth it — knowing my gear is protected gives me serious peace of mind.
Ready to Take the Next Step?
If you’re ready to invest a little more and build a setup that lasts, these are the upgrades I recommend.
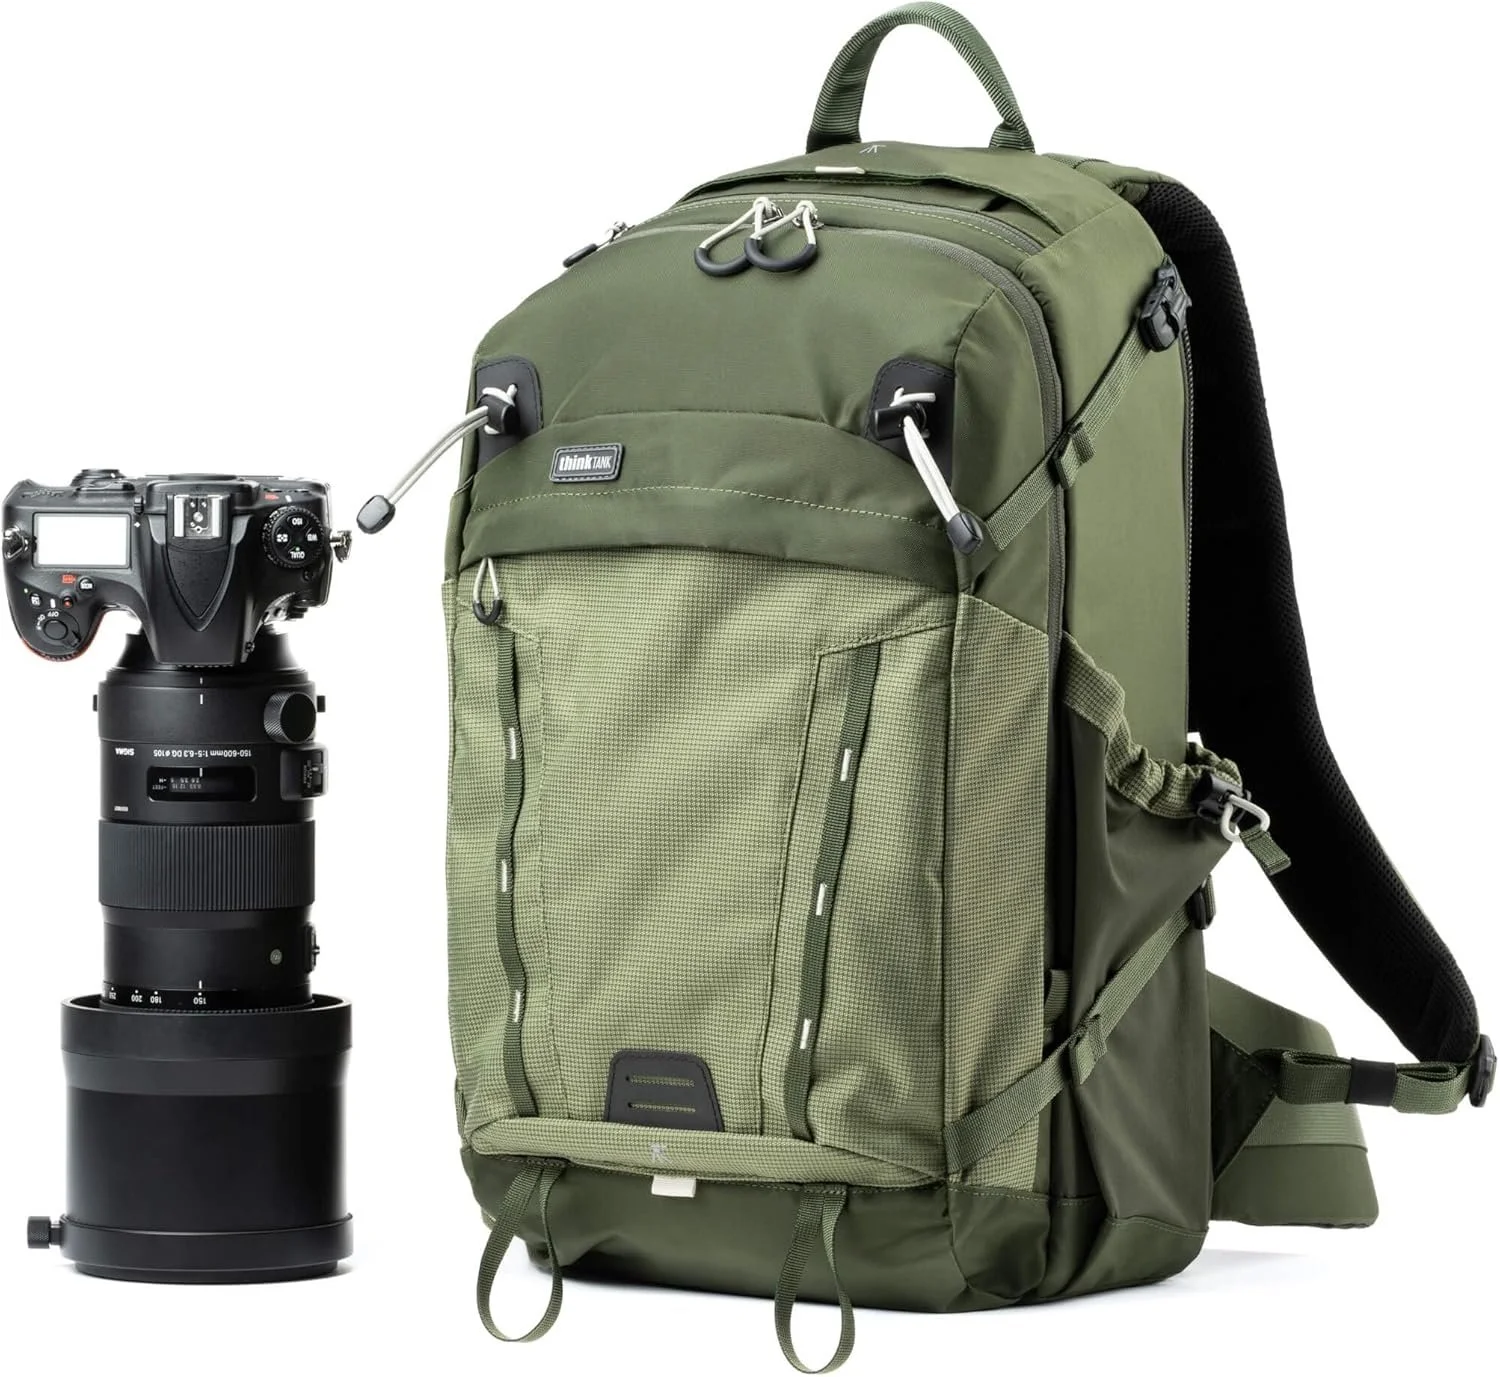
If I need to carry a full kit, this is the bag I grab. It fits multiple camera bodies, lenses, my drone, and all the accessories I need for longer trips or outdoor shoots.
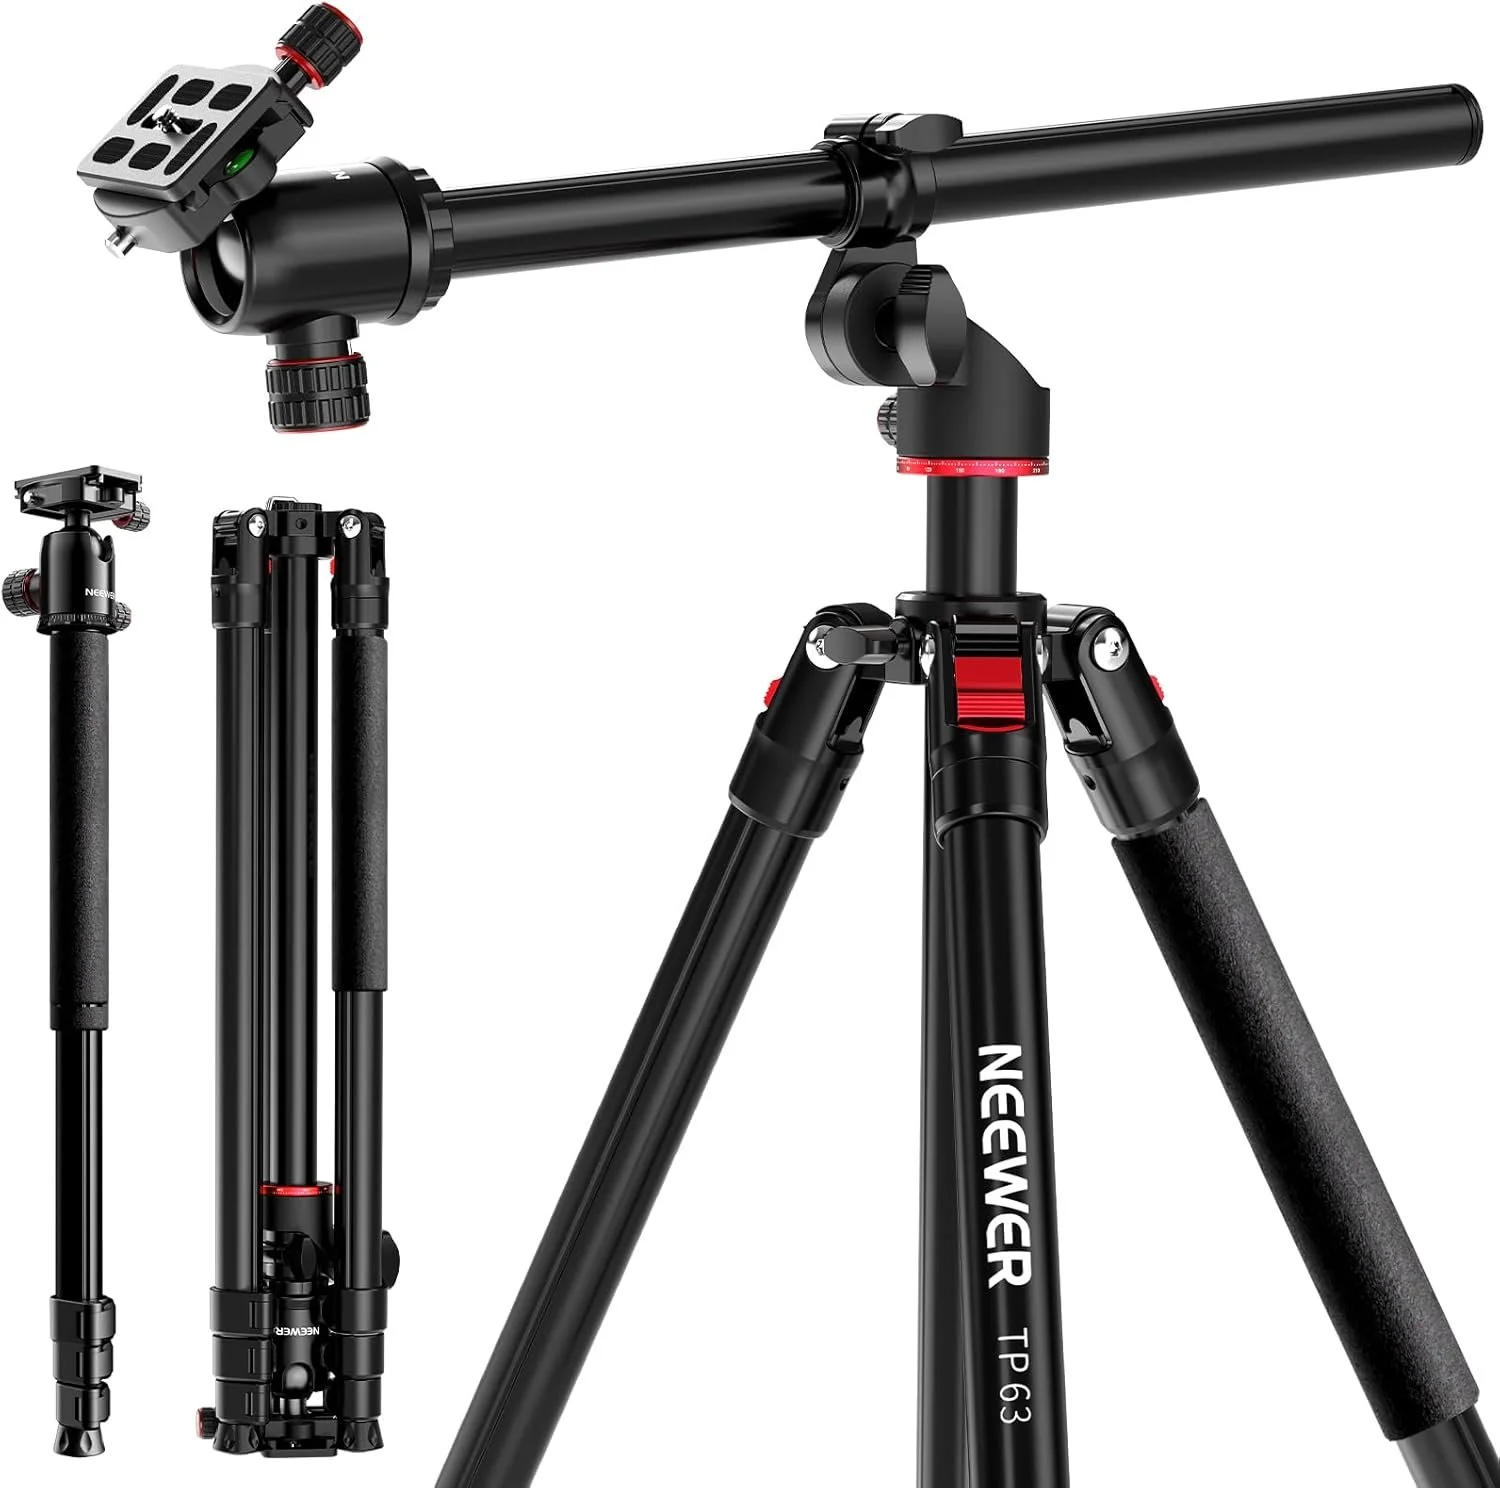
This is my go-to next-level tripod. It’s lighter and more affordable than the carbon version, but still extremely stable in real-world conditions.
It weighs about 3.4 lbs, packs down to 15.5 inches, and extends to nearly 60 inches — making it compact enough for travel without sacrificing height or stability.
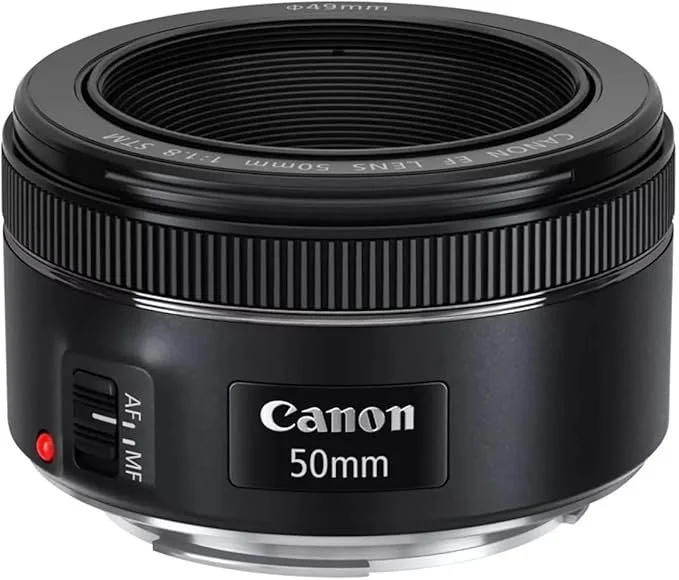
Canon’s RF “nifty fifty” and one of the best lenses you can buy in the $150 range. The 50mm focal length and fast f/1.8 aperture deliver sharp images, beautiful background blur, and great low-light performance — all in a lightweight (160g) package.
If you shoot Canon RF, this is an easy addition to your kit.
Camera Bodies I’ve Owned (And What I’ve Learned)
Here’s the progression of cameras I’ve used over the years — and what each step taught me about making smarter upgrades.
There are countless camera options available today, and it can feel overwhelming when you’re getting started.
One of the most important decisions is choosing a camera ecosystem — Canon, Nikon, Olympus, Sony, and others all offer strong systems. Once you commit to a brand, you’ll likely stay with it because lenses are expensive and not interchangeable across brands.
I shoot with Canon, but each of these major systems is capable of producing professional results.
My advice: choose a reputable system and stick with it. You’ll have access to plenty of support, tutorials, and community knowledge online.
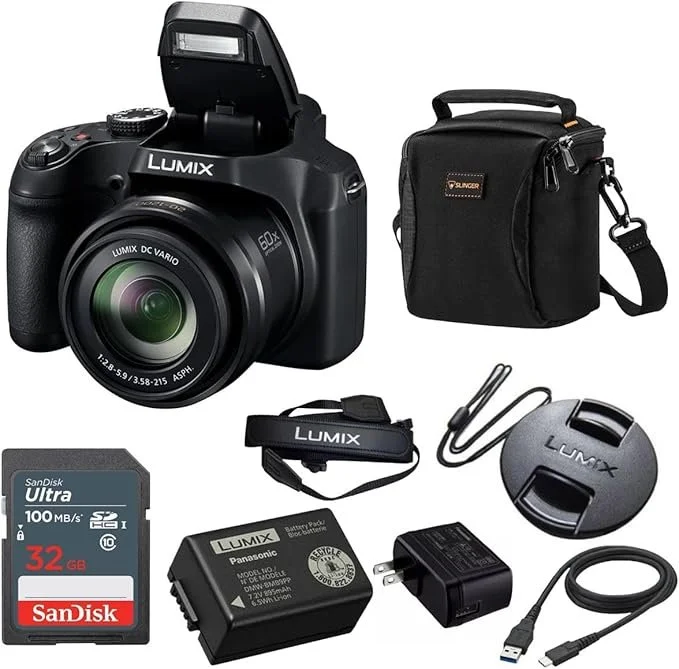
I bought this camera (gray version) during a Black Friday sale for under $100, and it’s been a great backup ever since.
It delivers solid 18MP images and is the one I grab for rough conditions — rain, kayaking, or anywhere damage is a real risk.
Affordable, dependable, and stress-free to use.
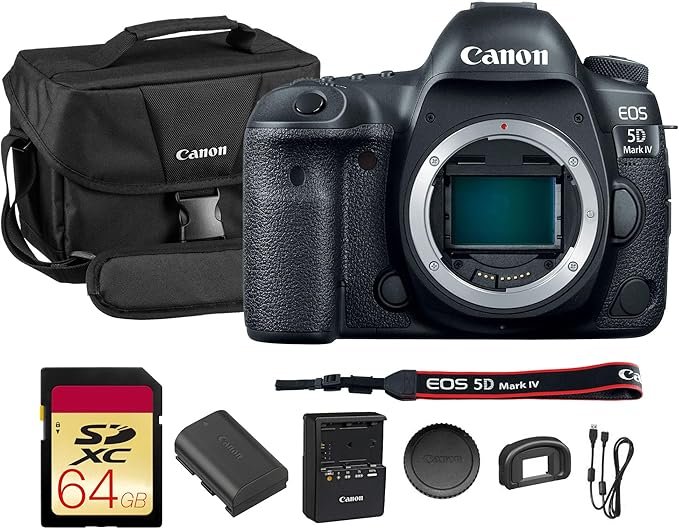
The Canon 5D Mark IV was a major leap for me — my first true professional-level camera and a serious investment.
Moving to a 30.4 megapixel full-frame sensor opened up image quality and performance that simply wasn’t available in consumer-grade DSLRs at the time. The dynamic range, low-light capability, and overall build quality were on a different level.
With mirrorless cameras becoming more popular, DSLR prices have come down significantly. This makes the 5D Mark IV an incredible value today.
You can also consider buying used to lower the cost even more. I’ve purchased used gear from Adorama and have been very pleased with the experience.
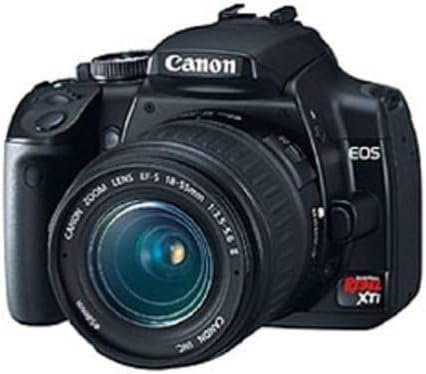
The Canon XTi was my first real step into digital photography, and it played a big role in my learning process.
However, it’s quite outdated by modern standards. It’s limited to 10 megapixels and uses CompactFlash cards, which require a dedicated reader.
I wouldn’t recommend it for most beginners today, except as a low-risk backup or a camera you wouldn’t mind using in tougher environments.
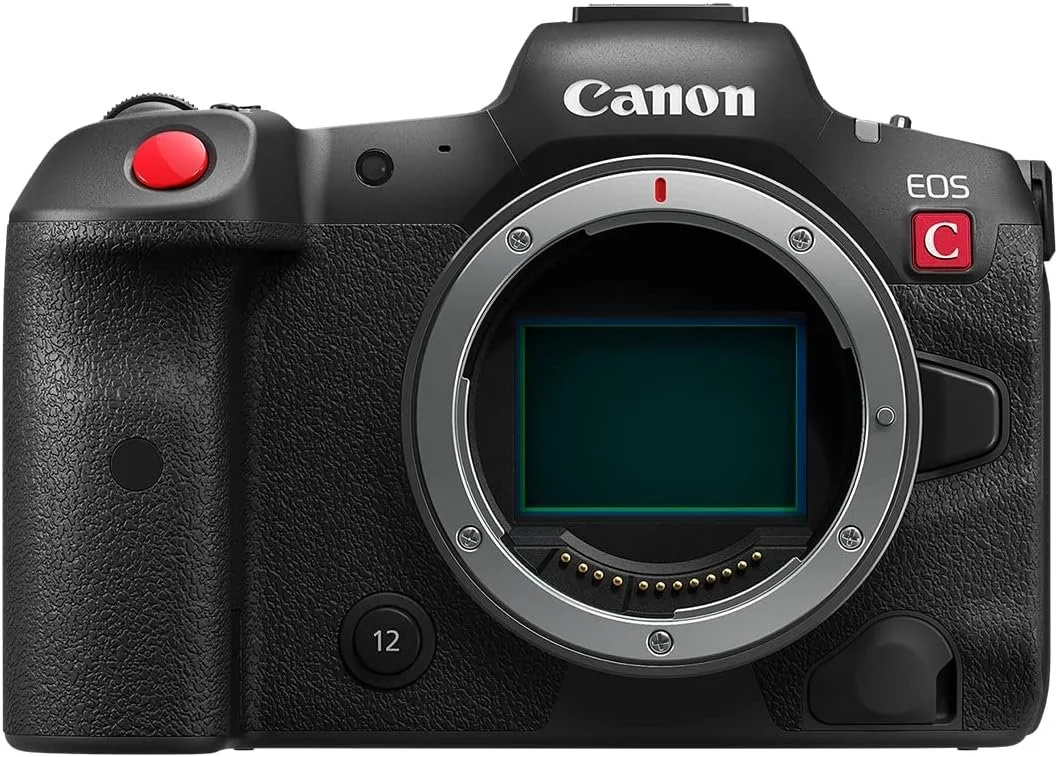
The Canon R5 is my main camera today. While the newer R5 Mark II is available, I haven’t felt the need to upgrade — the R5 continues to perform at a very high level.
With a 45-megapixel full-frame sensor and excellent video capabilities, this camera delivers outstanding image quality. It features dual card slots, including a CFexpress slot for high-speed performance.
The autofocus system is a significant step forward, especially for tracking subjects and shooting in challenging conditions.
If it fits within your budget, the R5 is a powerful professional camera capable of handling nearly any photography or video scenario.
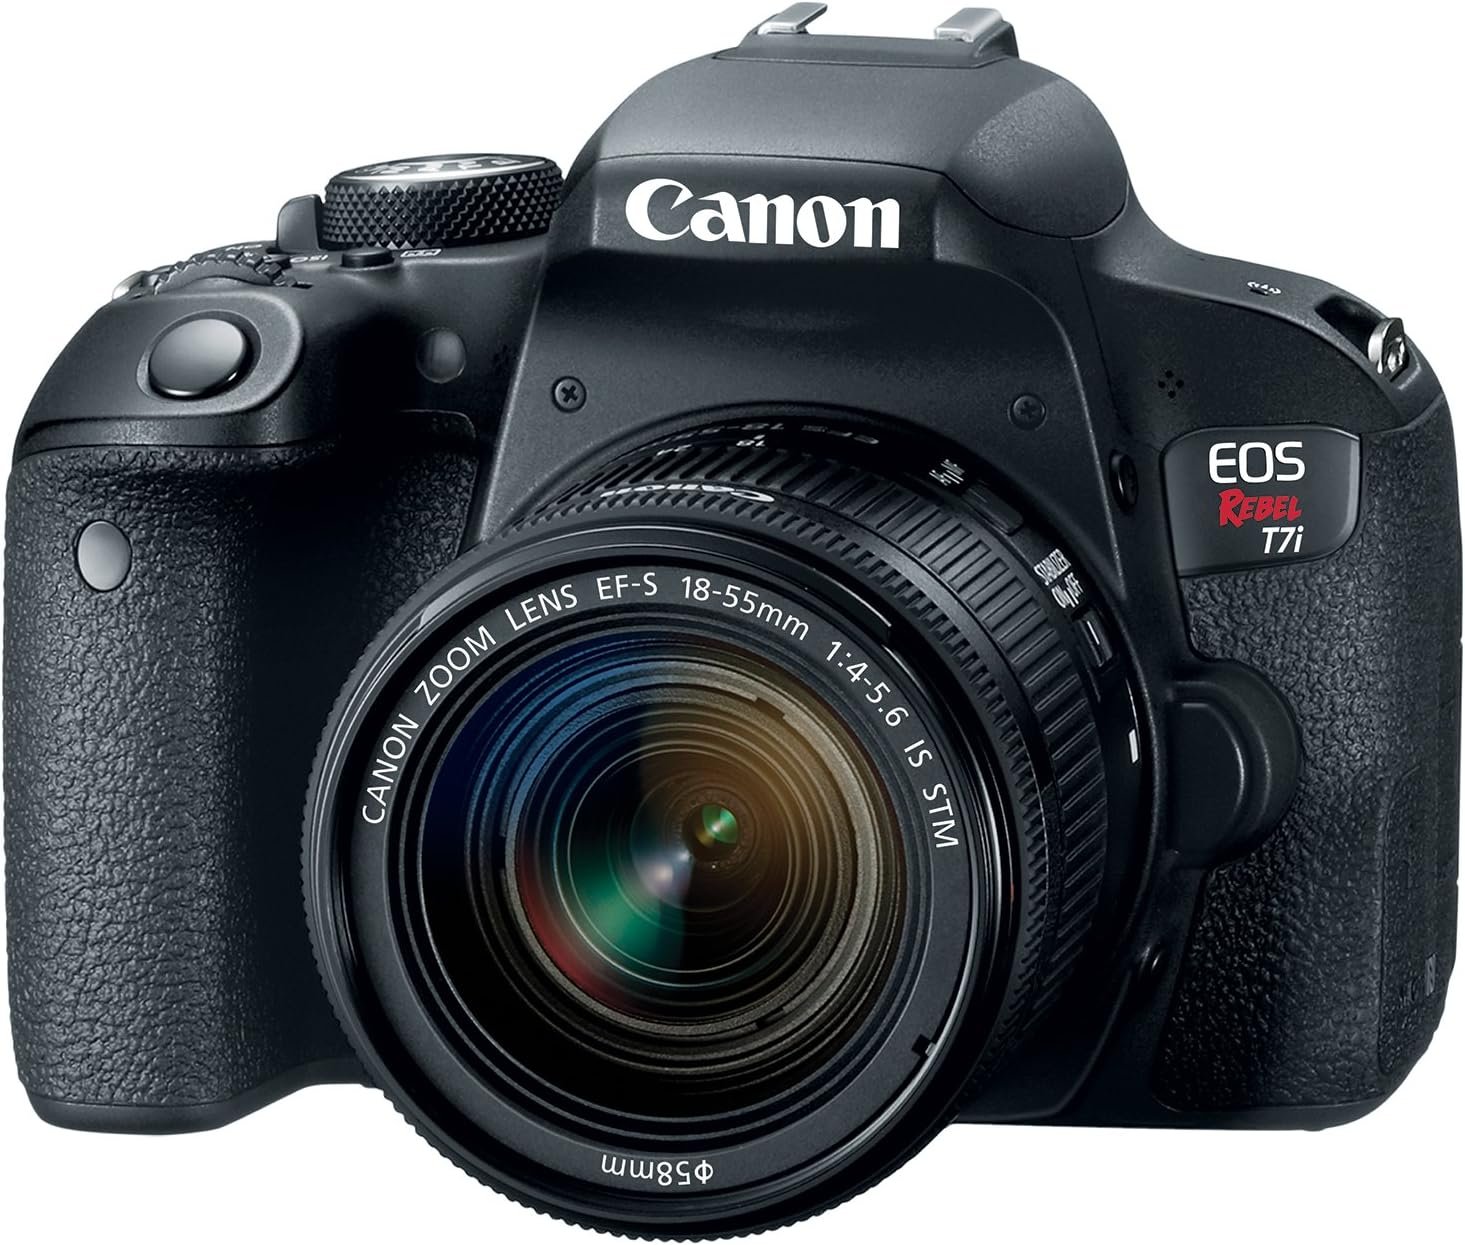
The Canon Rebel series was my first serious upgrade and a major step forward in my photography.
At the time, the 5Ti was the top model in the lineup. The newer Rebel models (up through the 7Ti) offer 24 megapixels and strong video capabilities, making them versatile for both photography and content creation.
These cameras are more than capable for many professional-level shoots, especially in good lighting.
I highly recommend the Rebel series for photographers who want to step up their game without stretching their budget too far.

I transitioned to mirrorless when I traded my 5D Mark IV for the Canon R6 — and it was a noticeable shift in speed and autofocus performance.
The R6 now serves as my backup to the R5 and is more than capable of handling professional work on its own. It’s also the camera I take out when I want to keep things lighter and simply enjoy shooting.
If you’re considering a professional full-frame mirrorless camera without stepping into the higher price range of the R5, the R6 line is an excellent choice.
The R6 Mark II offers 24 megapixels, and the newer Mark III increases that to 32 megapixels. With mirrorless models maturing quickly, used options are also worth considering.
Lenses are where the money is
Lenses are the driver for which system you are married to. Some lenses will cost more than your camera body. Good or bad, most cannot afford to swith from one brand to another.
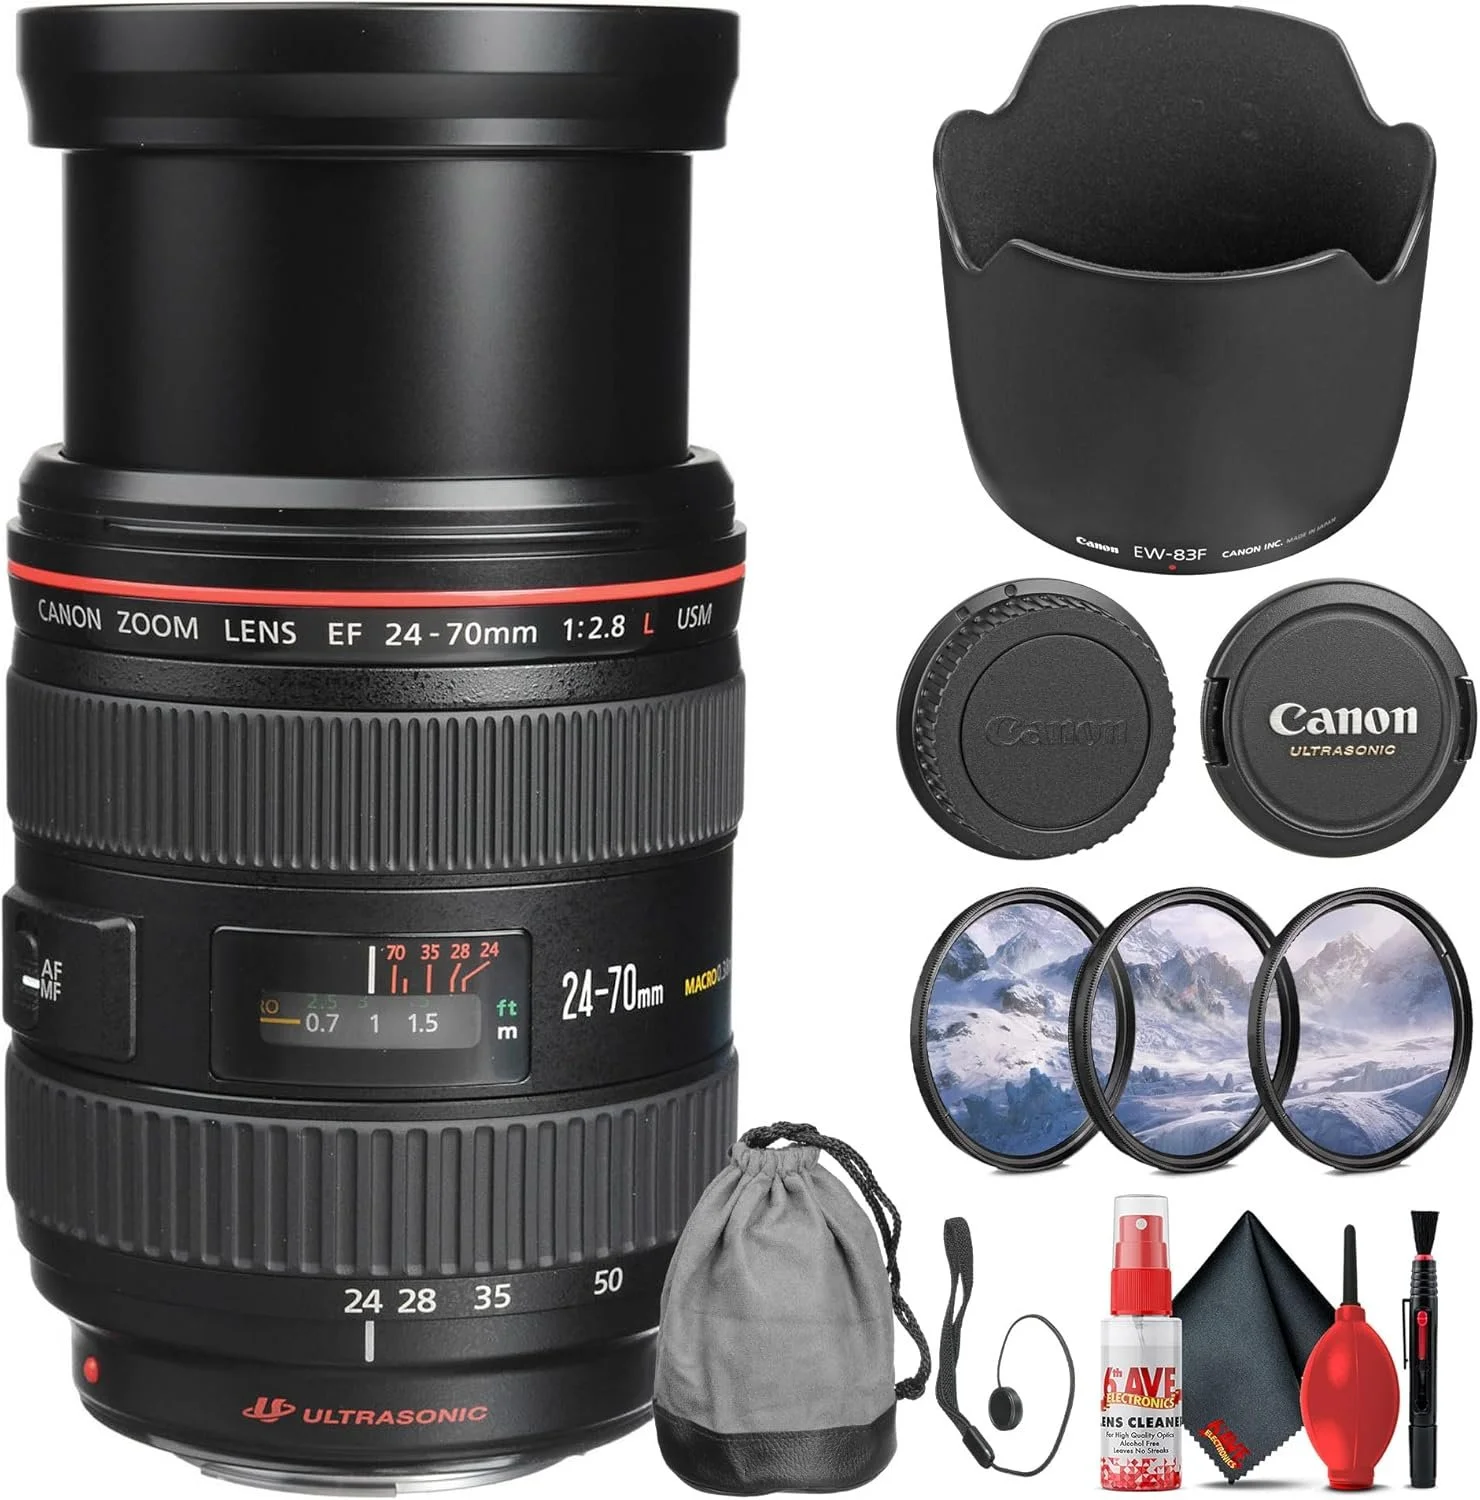
This lens uses the Canon EF mount, which fits my 5D Mark IV. When I transitioned to mirrorless, I chose to use Canon’s EF-to-RF adapter (listed next) so I could continue using this glass.
With a constant f/2.8 aperture throughout the zoom range, this lens performs very well in low light and is extremely versatile for everyday shooting.
If I could only own one lens, the 24–70mm would be a strong contender.
Canon also offers a 24–105mm option, which provides additional reach and can be an excellent alternative for those wanting even more versatility.
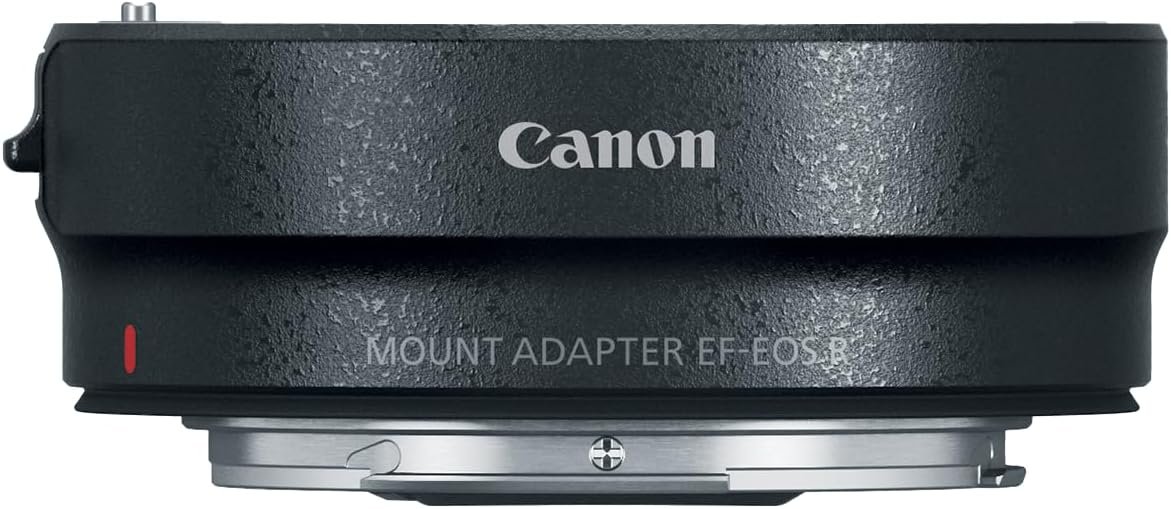
When transitioning from EF to RF mount, the Canon EF-to-RF adapter is a must.
I recommend using the manufacturer’s adapter rather than a third-party version. It’s slightly more expensive, but the reliability and compatibility are worth it.
I use this adapter on both my R5 and R6 with excellent results, and it works across Canon’s RF system.
Most importantly, it allows you to continue using your EF lenses — potentially saving you thousands compared to replacing your entire lens lineup.
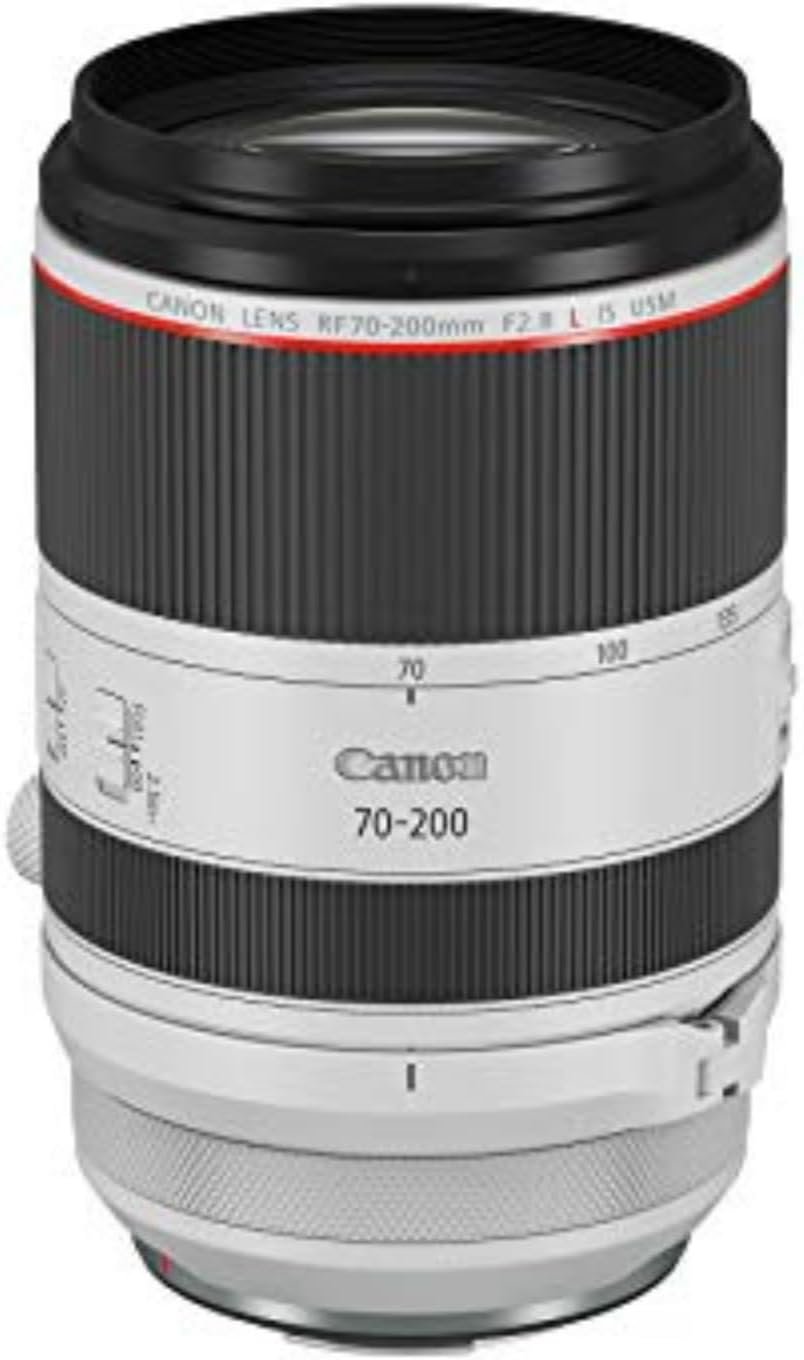
The 70–200mm f/2.8 is all about reach, subject separation, and beautiful background compression.
It’s excellent for portraits and works well for select landscape shots where isolating details is key. If you have reasonably close access to wildlife, including birds, it can provide enough reach for strong images.
This lens goes on almost every hike with me — it’s a dependable workhorse in my kit.
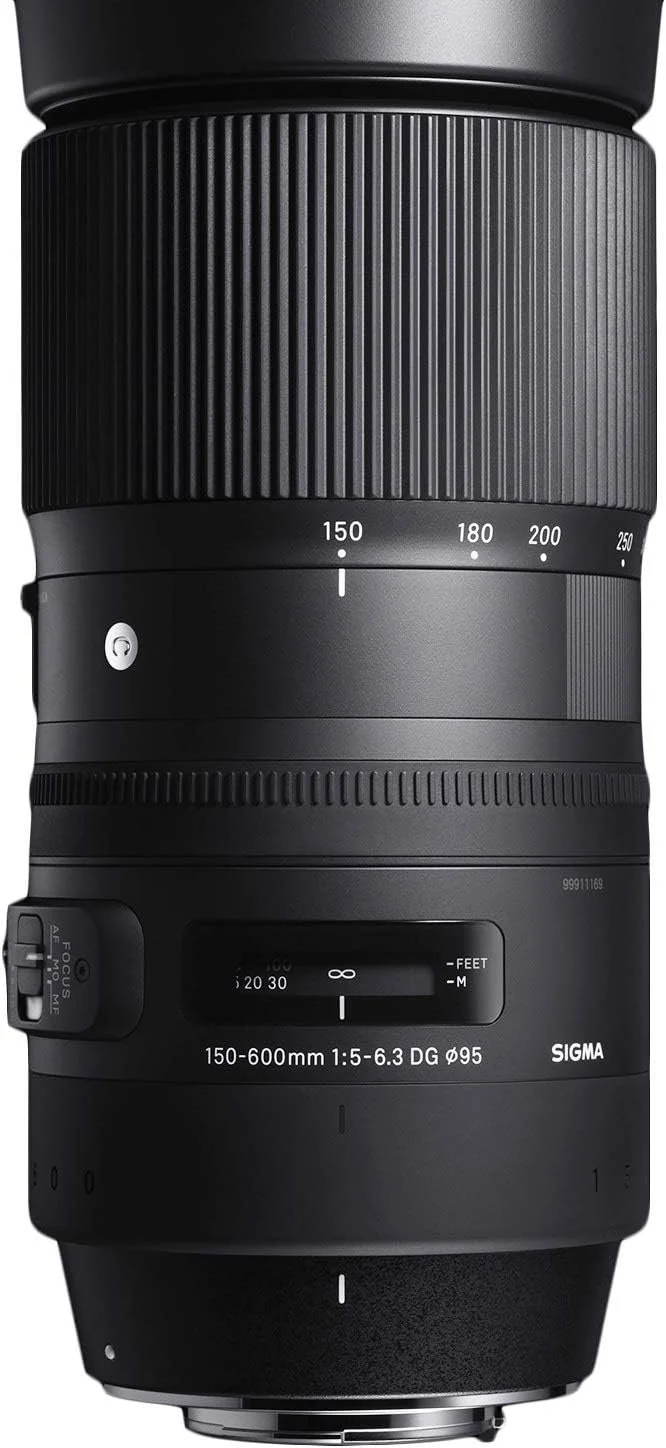
As I focused more on wildlife and bird photography, the 70–200mm simply wasn’t enough reach.
The Sigma 150–600mm Contemporary provided the extra range I needed without sacrificing overall image quality.
While the variable aperture means you’ll want strong light for the sharpest results, it performs very well for the price.
Compared to manufacturer-branded 150–600mm options, this lens is significantly more affordable — making it a smart and practical solution for serious hobbyists and emerging wildlife photographers.
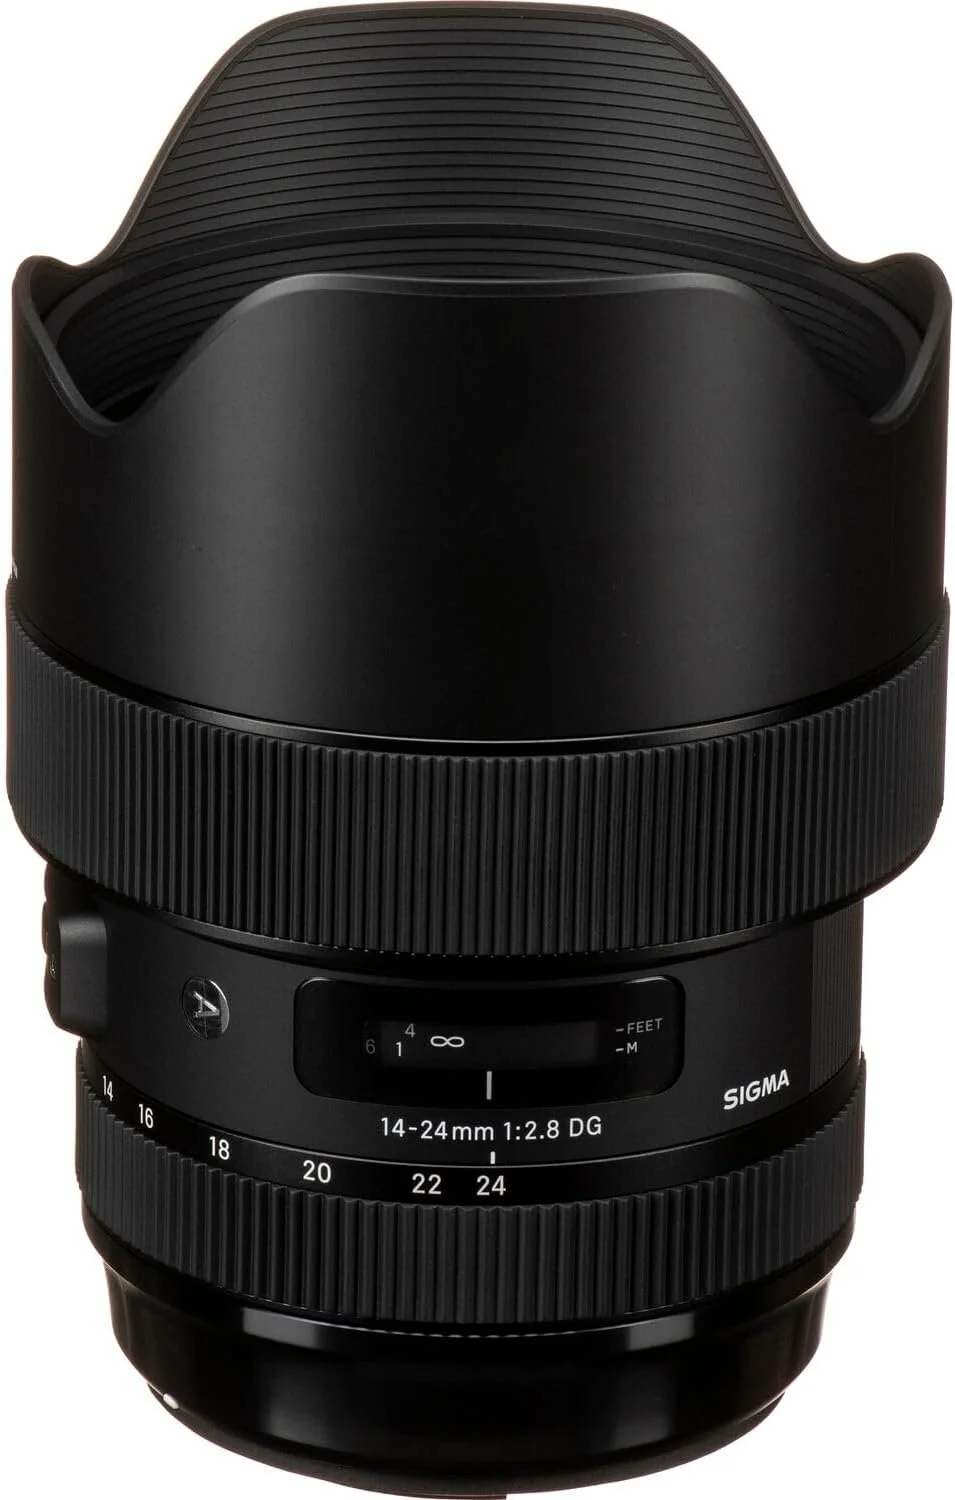
The Sigma EF 14–24mm is my main lens for real estate photography.
Its ultra-wide field of view makes it ideal for capturing interiors and maximizing space in listings. It’s a key part of my workflow.
Real estate photography is my side business, and it has helped pay for many of the higher-end lenses in my collection.
Because this is an EF-mount lens, I pair it with Canon’s EF-to-RF adapter when using my R-series bodies.
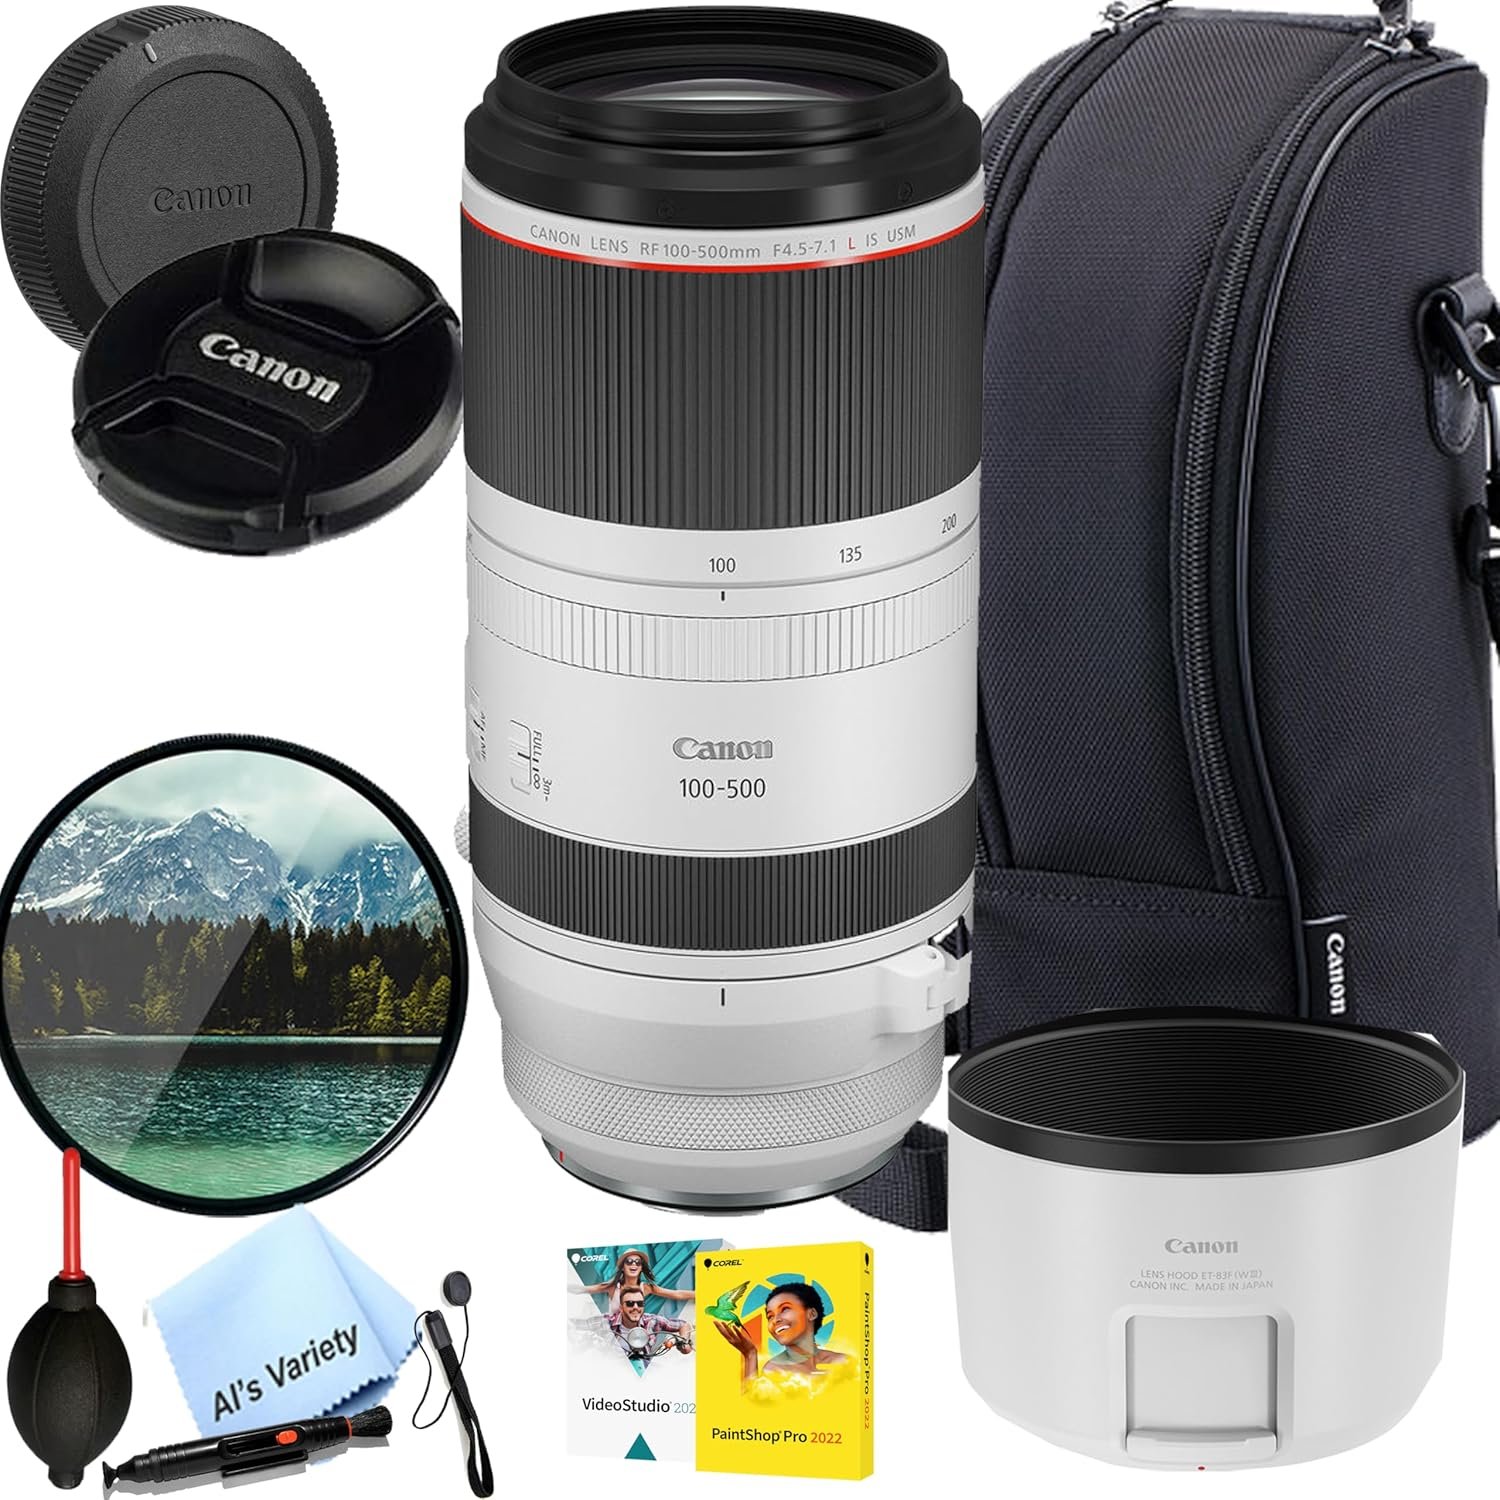
I rented the Canon RF 100–500mm f/4.5–7.1 for a trip along the California coast to see how it compared to my Sigma 150–600mm.
While it doesn’t quite have the same maximum reach, the faster and more accurate autofocus, slightly brighter aperture at certain focal lengths, and smaller overall size immediately stood out.
After that trip, I sent my Sigma 150–600mm to Adorama and purchased the Canon RF 100–500mm — and I haven’t looked back.
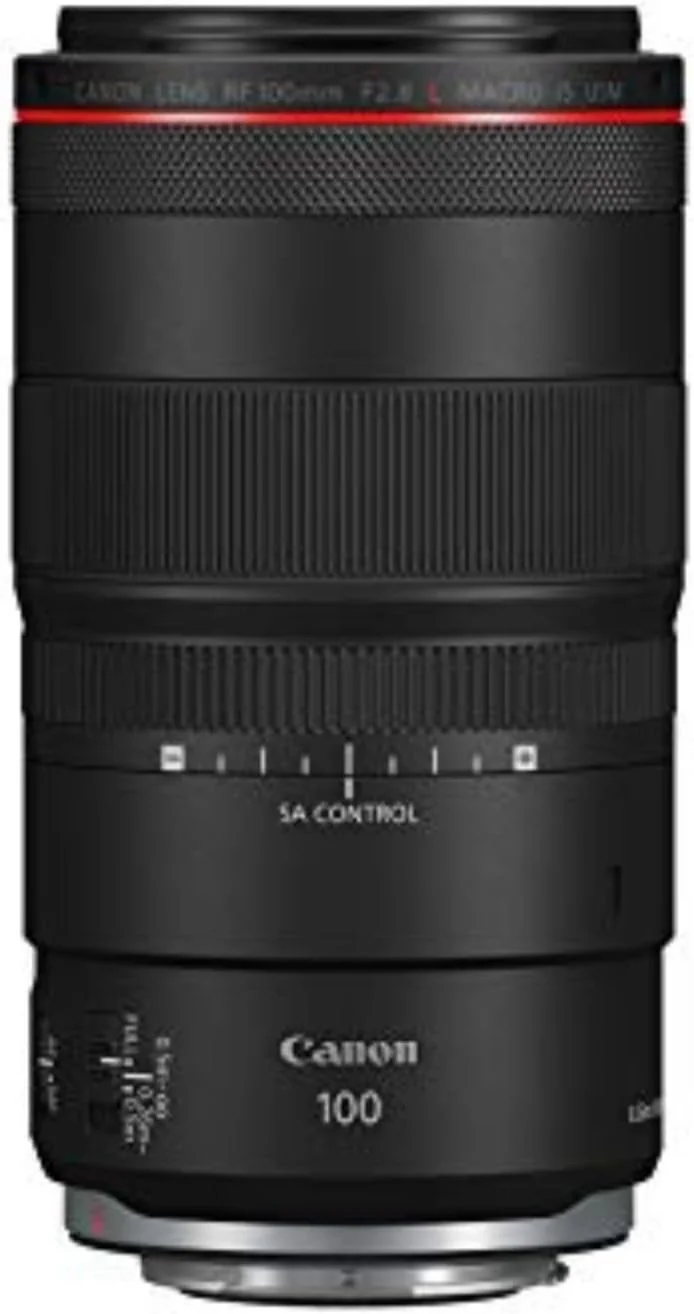
The Canon 100mm Macro was a purposeful addition to my kit.
It’s an L-series lens, which means excellent build quality, sharpness, and performance — though it does come at a higher price point.
For macro photography, it captures incredible detail. And as a bonus, it doubles as a fantastic portrait lens with beautiful subject isolation and background blur.
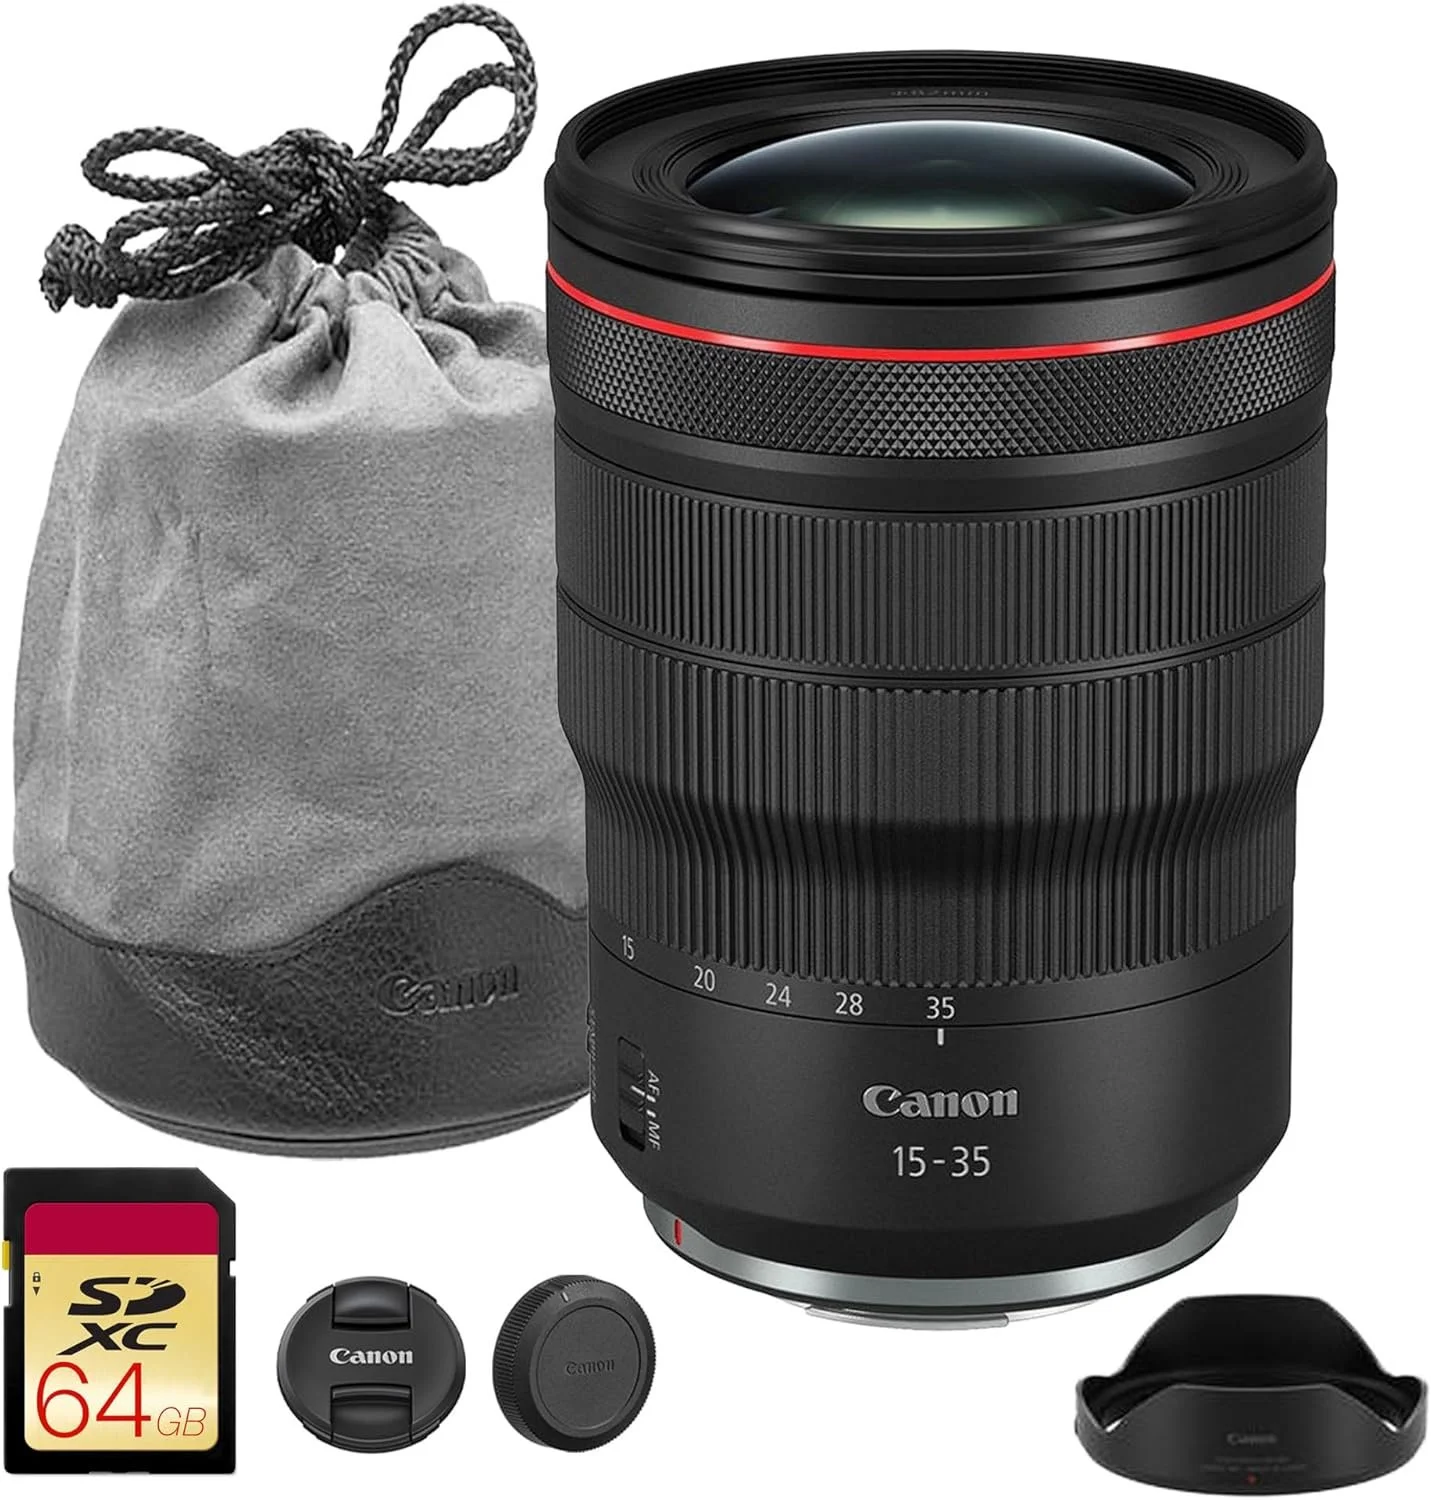
I initially assumed the Canon 15–35mm would replace my Sigma 14–24mm for real estate photography.
But after real-world testing, that 1mm difference on the wide end proved significant. At 14mm, you capture noticeably more of a room — and that small difference can make a big impact in property listings.
The Canon 15–35mm is outstanding for landscapes and general wide-angle work. However, when it comes to maximizing interior space, the Sigma 14–24mm still earns its place in my bag.
Bottom Line:
For Real Estate → Sigma 14–24mm
For Landscapes → Canon 15–35mm
Action Cameras
Action cameras are a powerful addition to any kit. They open up creative angles and perspectives that traditional cameras simply can’t capture.
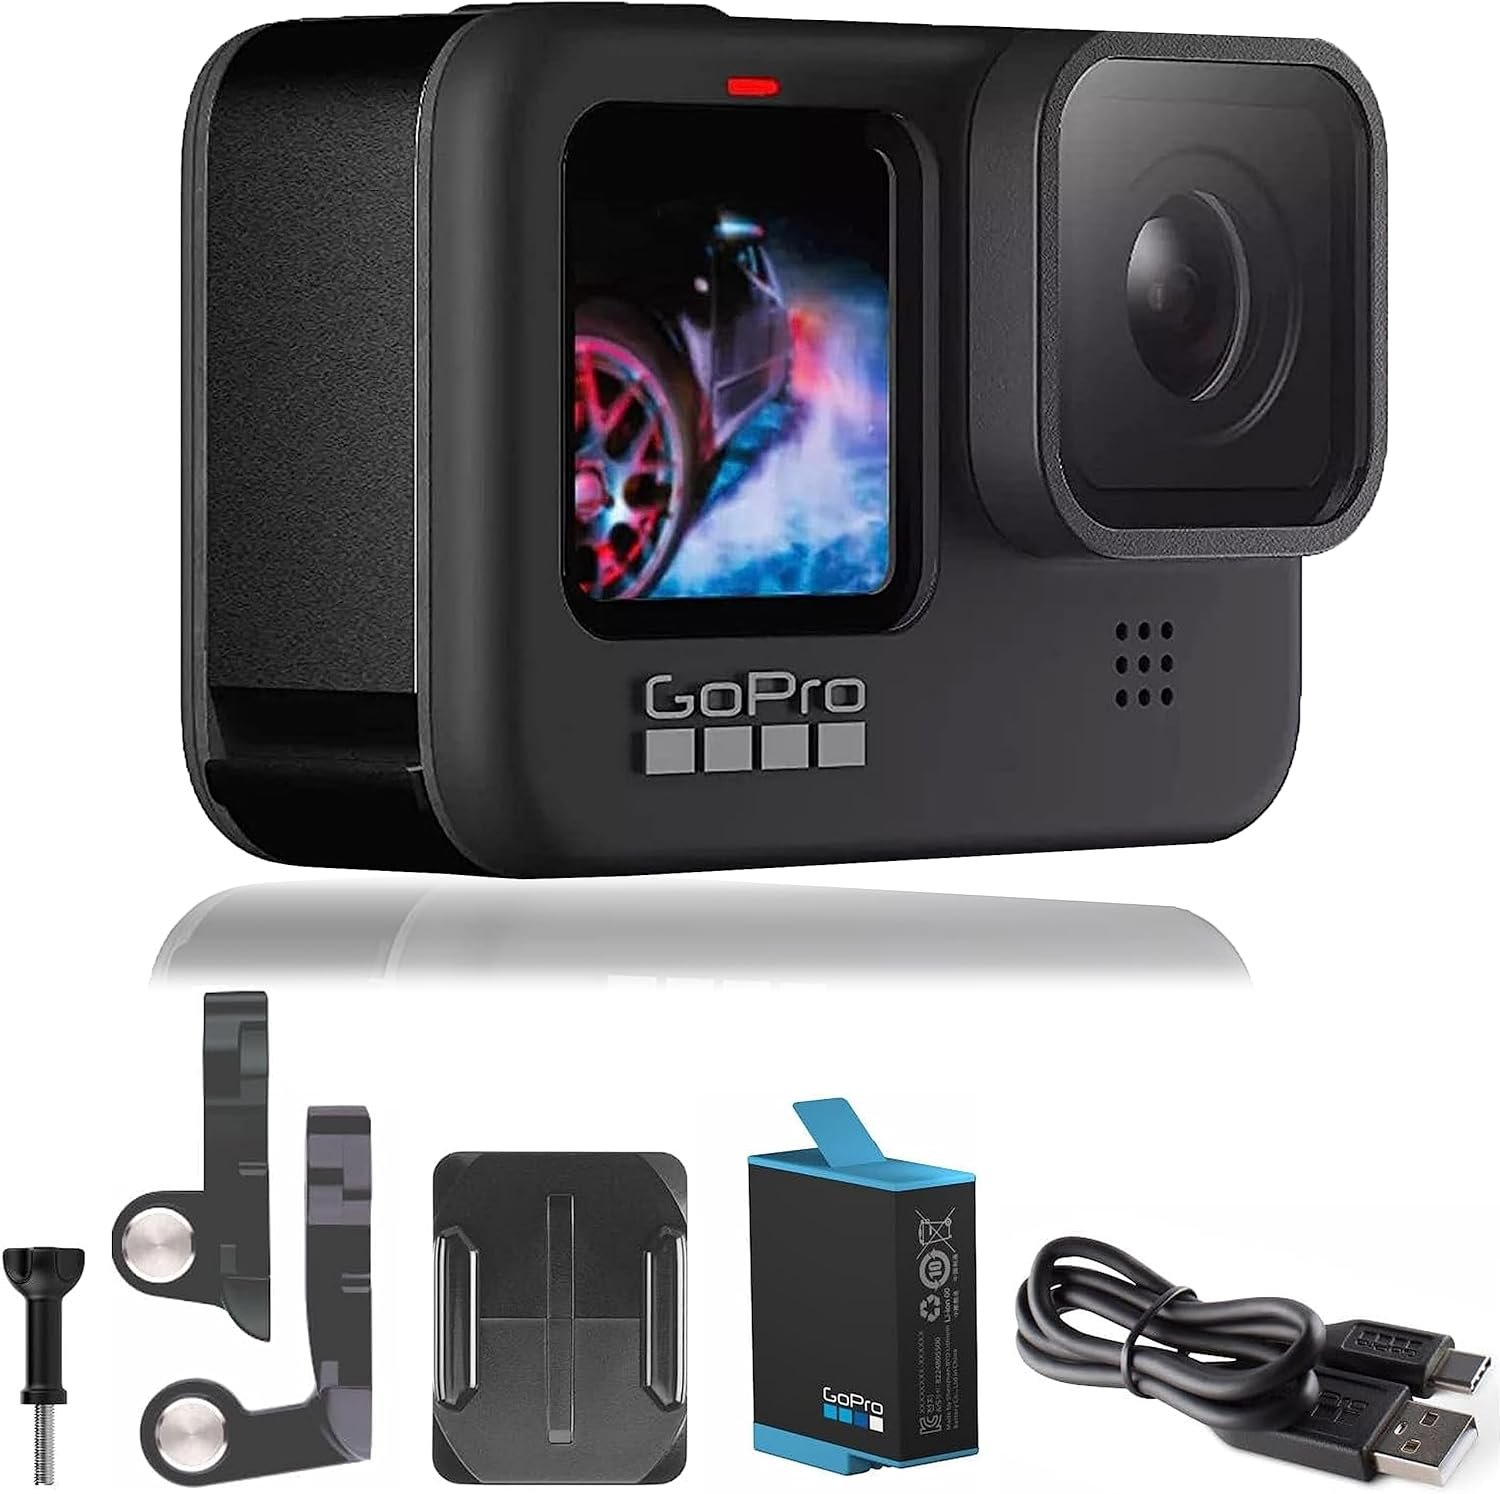
The GoPro Hero 9 Black is compact, rugged, and waterproof — making it ideal for environments where larger cameras aren’t practical.
Its ultra-wide field of view makes it perfect for capturing tight spaces and immersive perspectives.
With a GoPro subscription, you also get unlimited cloud storage and access to automatically generated highlight videos.
The real limit is your creativity.
While this is the Hero 9 model, GoPro has since released newer versions (currently up to the Hero 13). If budget allows, it’s worth looking at the latest model, but the Hero 9 still delivers strong performance for most users.
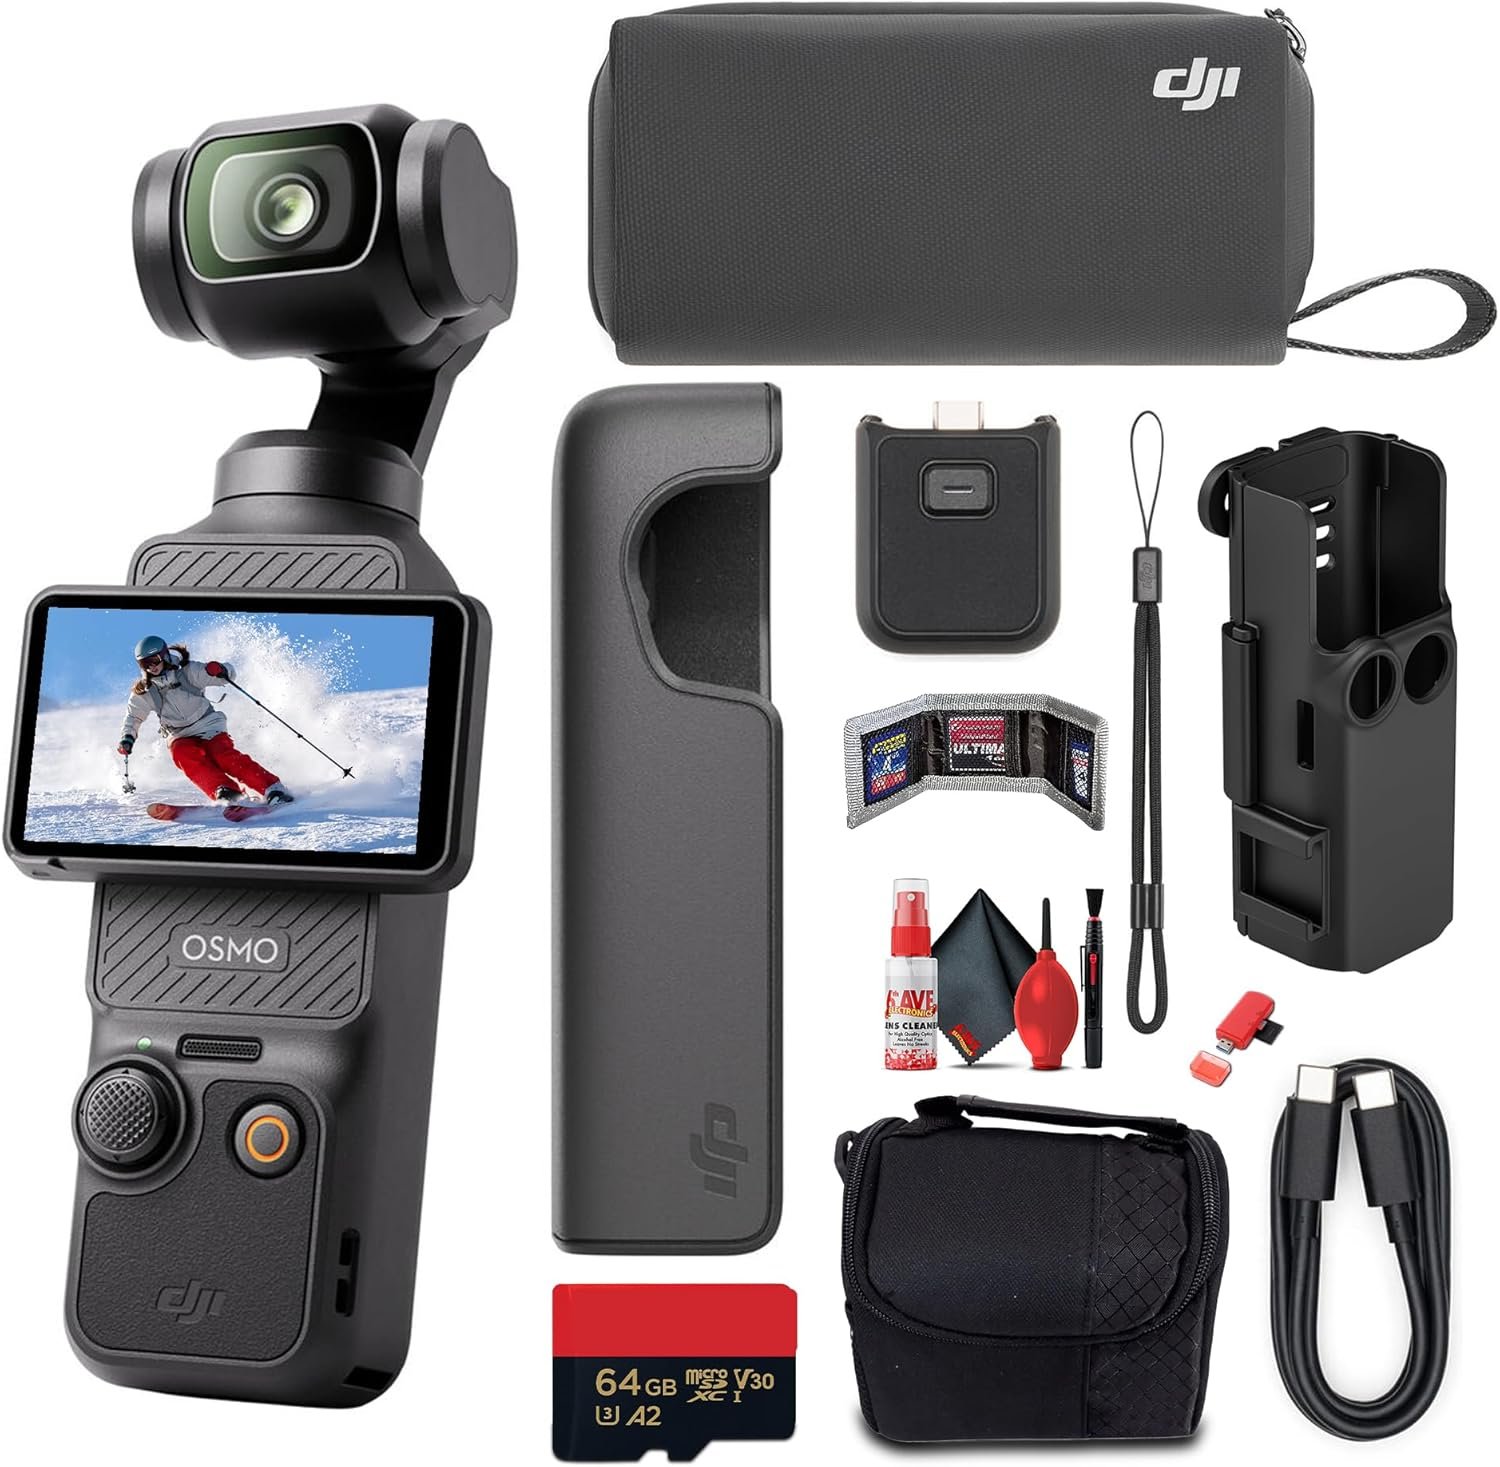
The DJI Osmo Pocket 3 is my preferred camera for outdoor YouTube content. Its built-in 3-axis mechanical gimbal produces smooth, stabilized footage without needing extra gear.
With a large 1-inch sensor, 4K video recording up to 60fps, fast autofocus, and excellent low-light performance, it delivers image quality well beyond what you’d expect from its size.
The Creator Combo includes DJI’s wireless microphone system, which connects seamlessly. I’ve used it to mic a wedding singer by attaching it to his guitar strap — and the results were crystal clear.
For portability, ease of use, and professional-level stabilization, it’s hard to beat.
Taking Photography to the Skies
DJI drones continue to offer some of the best performance and value on the market.
However, recent government actions have created uncertainty around the availability of newer DJI models in the United States. While previously approved models remain permitted for use, availability of new inventory can be inconsistent.
Some retailers still have stock, but supply may vary. If you’re considering a purchase, it’s wise to confirm availability before making plans.
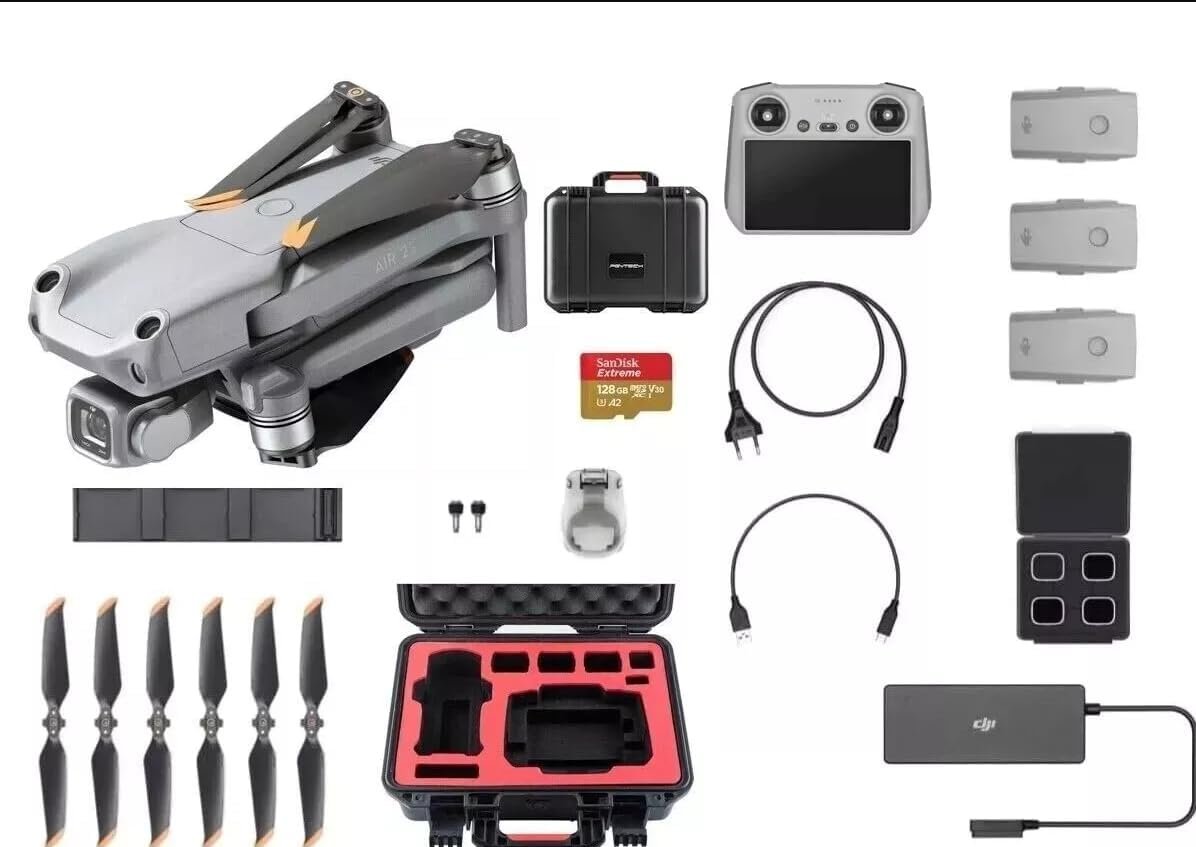
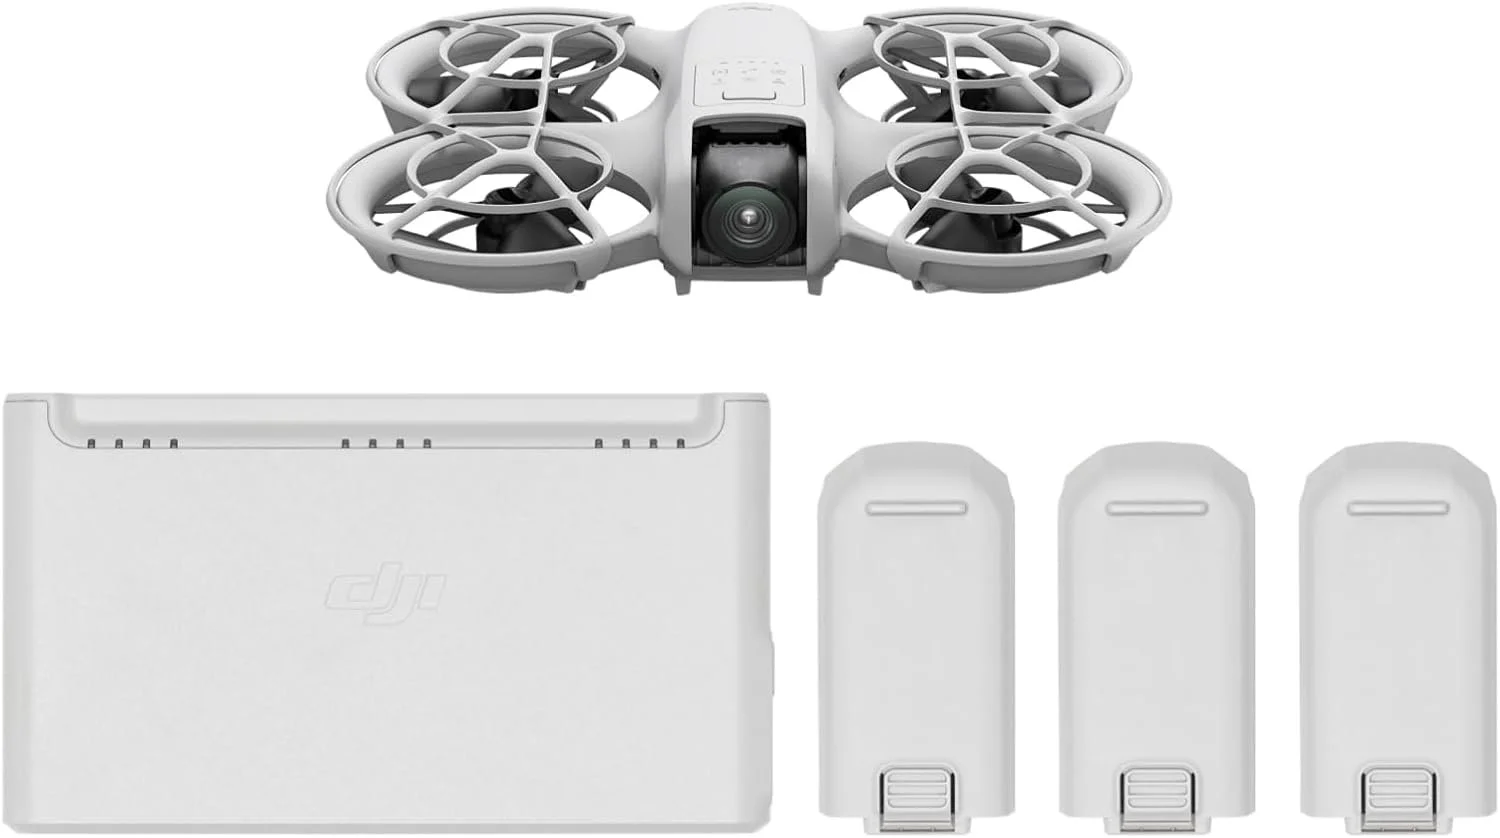
The DJI Air 2S was my first drone that truly helped me generate income and support my creative pursuits.
While it’s no longer the newest model, it remains a very capable drone. It continues to produce excellent photo and video quality for real estate work and personal flights.
Today, it serves as my backup to the Mavic 3 Pro.
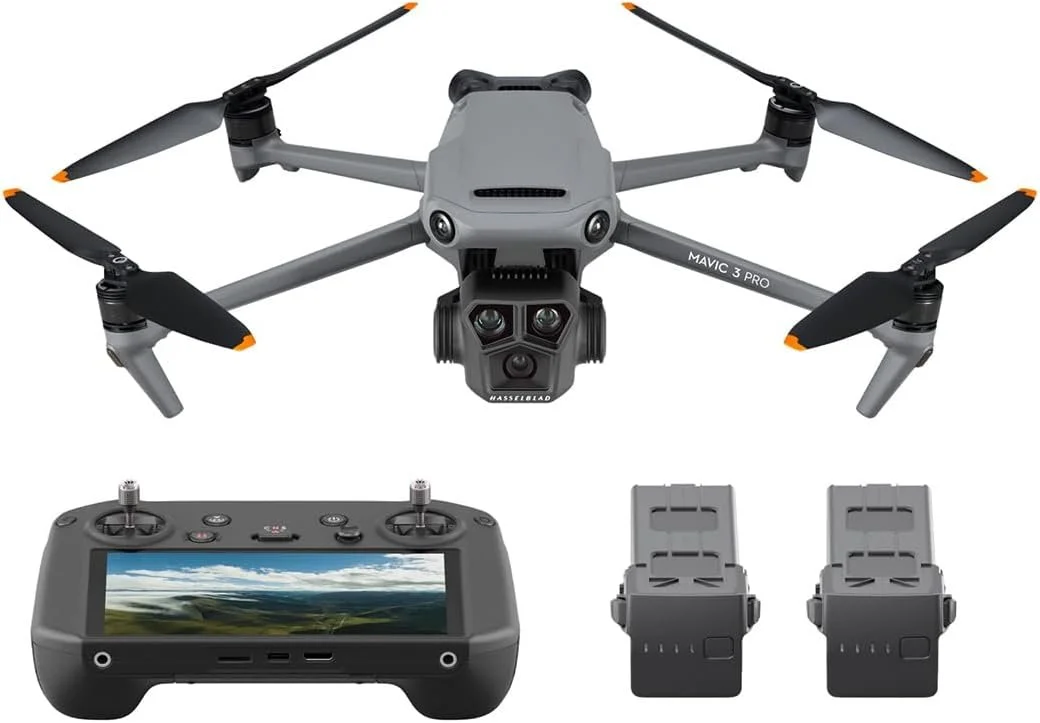
The Mavic 3 Pro is my go-to drone for almost all major aerial work. Whether I’m capturing sweeping landscapes or showcasing local businesses from above, this drone delivers.
Its triple-camera system includes a Hasselblad main sensor known for exceptional color and dynamic range, along with 3x and 7x telephoto lenses for added reach.
The flexibility and image quality make it one of the most capable drones available today — a true workhorse in my aerial kit.
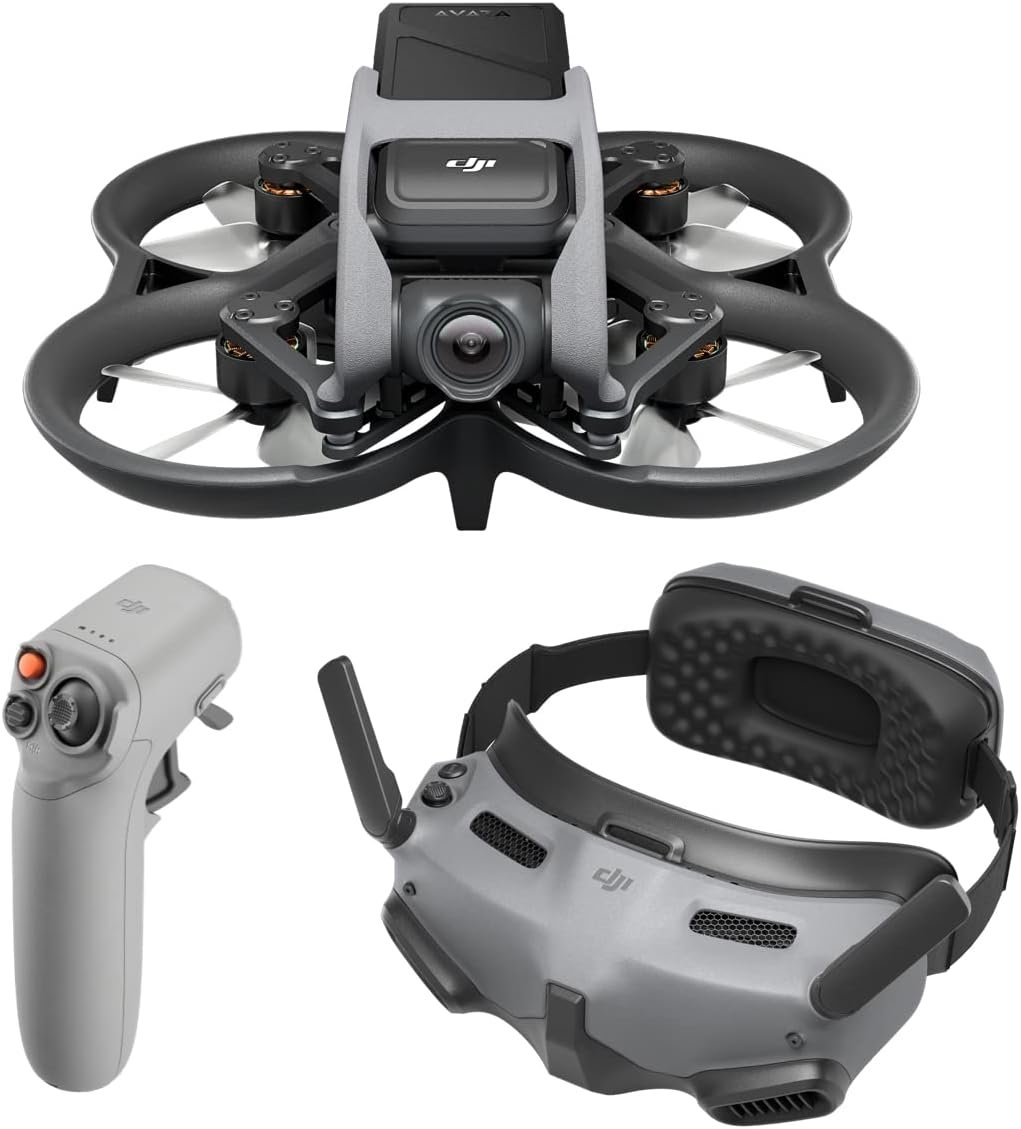
The DJI Avata was my introduction to FPV (First Person View) flying.
While the newer Avata 2 offers improvements and is worth a look, the original Avata remains a strong option — particularly if budget is a consideration.
I’ve used it for immersive fly-throughs inside buildings and navigating tight landscapes for real estate video projects. It adds a unique, cinematic perspective that traditional drones can’t easily replicate.
This drone is more recreational than professional and isn’t something I rely on for serious business work.
That said, I’ve used it for some fun and creative shots — including flying through one side of a car’s open window and out the other during a local promotional giveaway.
Because it’s very lightweight, you’ll want to be cautious on windy days.
It’s a great option for creators who want a simple drone that can follow them while walking or capturing casual content.
I don’t use it as often now — especially during the winter months — but it’s still a fun addition to the lineup.
Non-Photograhy Gear that Photographers Need
Not all of the gear I use is camera-related. Some items simply make time in the field more comfortable and efficient. These are the things you don’t always think about until you’re out there — but once you have them, you’ll never want to shoot without them.
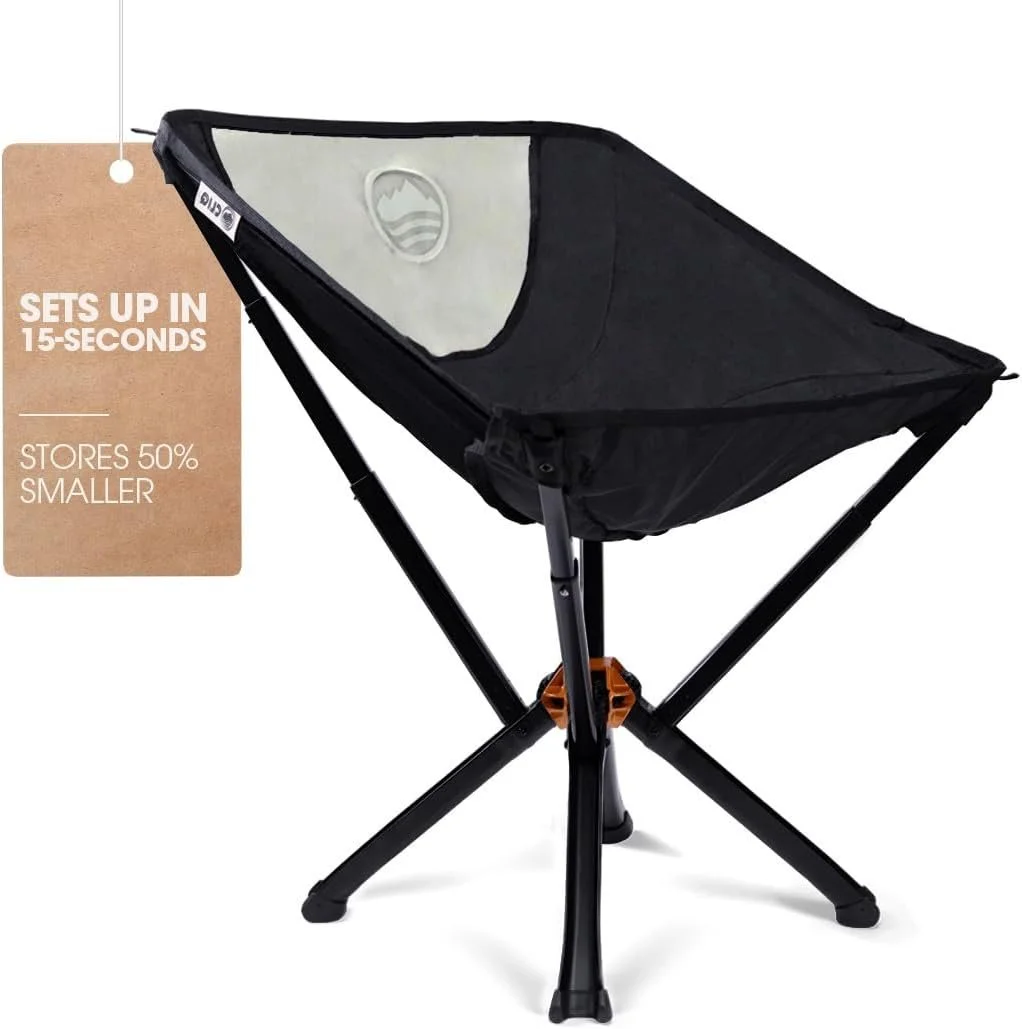
Lightweight. Compact. Always ready.
This chair fits right into my backpack side pocket, so it’s with me on every hike. When you’re waiting for the perfect light or scouting a long location, having a comfortable place to sit makes all the difference.
Set up in seconds. Packs down small. Game changer for long shoots.